
Full Odoo Configuration
🚨 PREREQUIRED
-
Integration is enabled for Odoo 13 and higher versions for Odoo.sh and Odoo SaaS.
-
A "personalized" tariff plan is needed for activation of integration with Odoo. (Odoo Plans & Pricing)
-
User must have administrator permissions to enable connection
The constraints added in Odoo customizations can affect the performance of the connector.
🛠 PREPARATION
Watch this video:
https://chift-connector-videos.s3.eu-west-3.amazonaws.com/100/1000-config.mp4
-
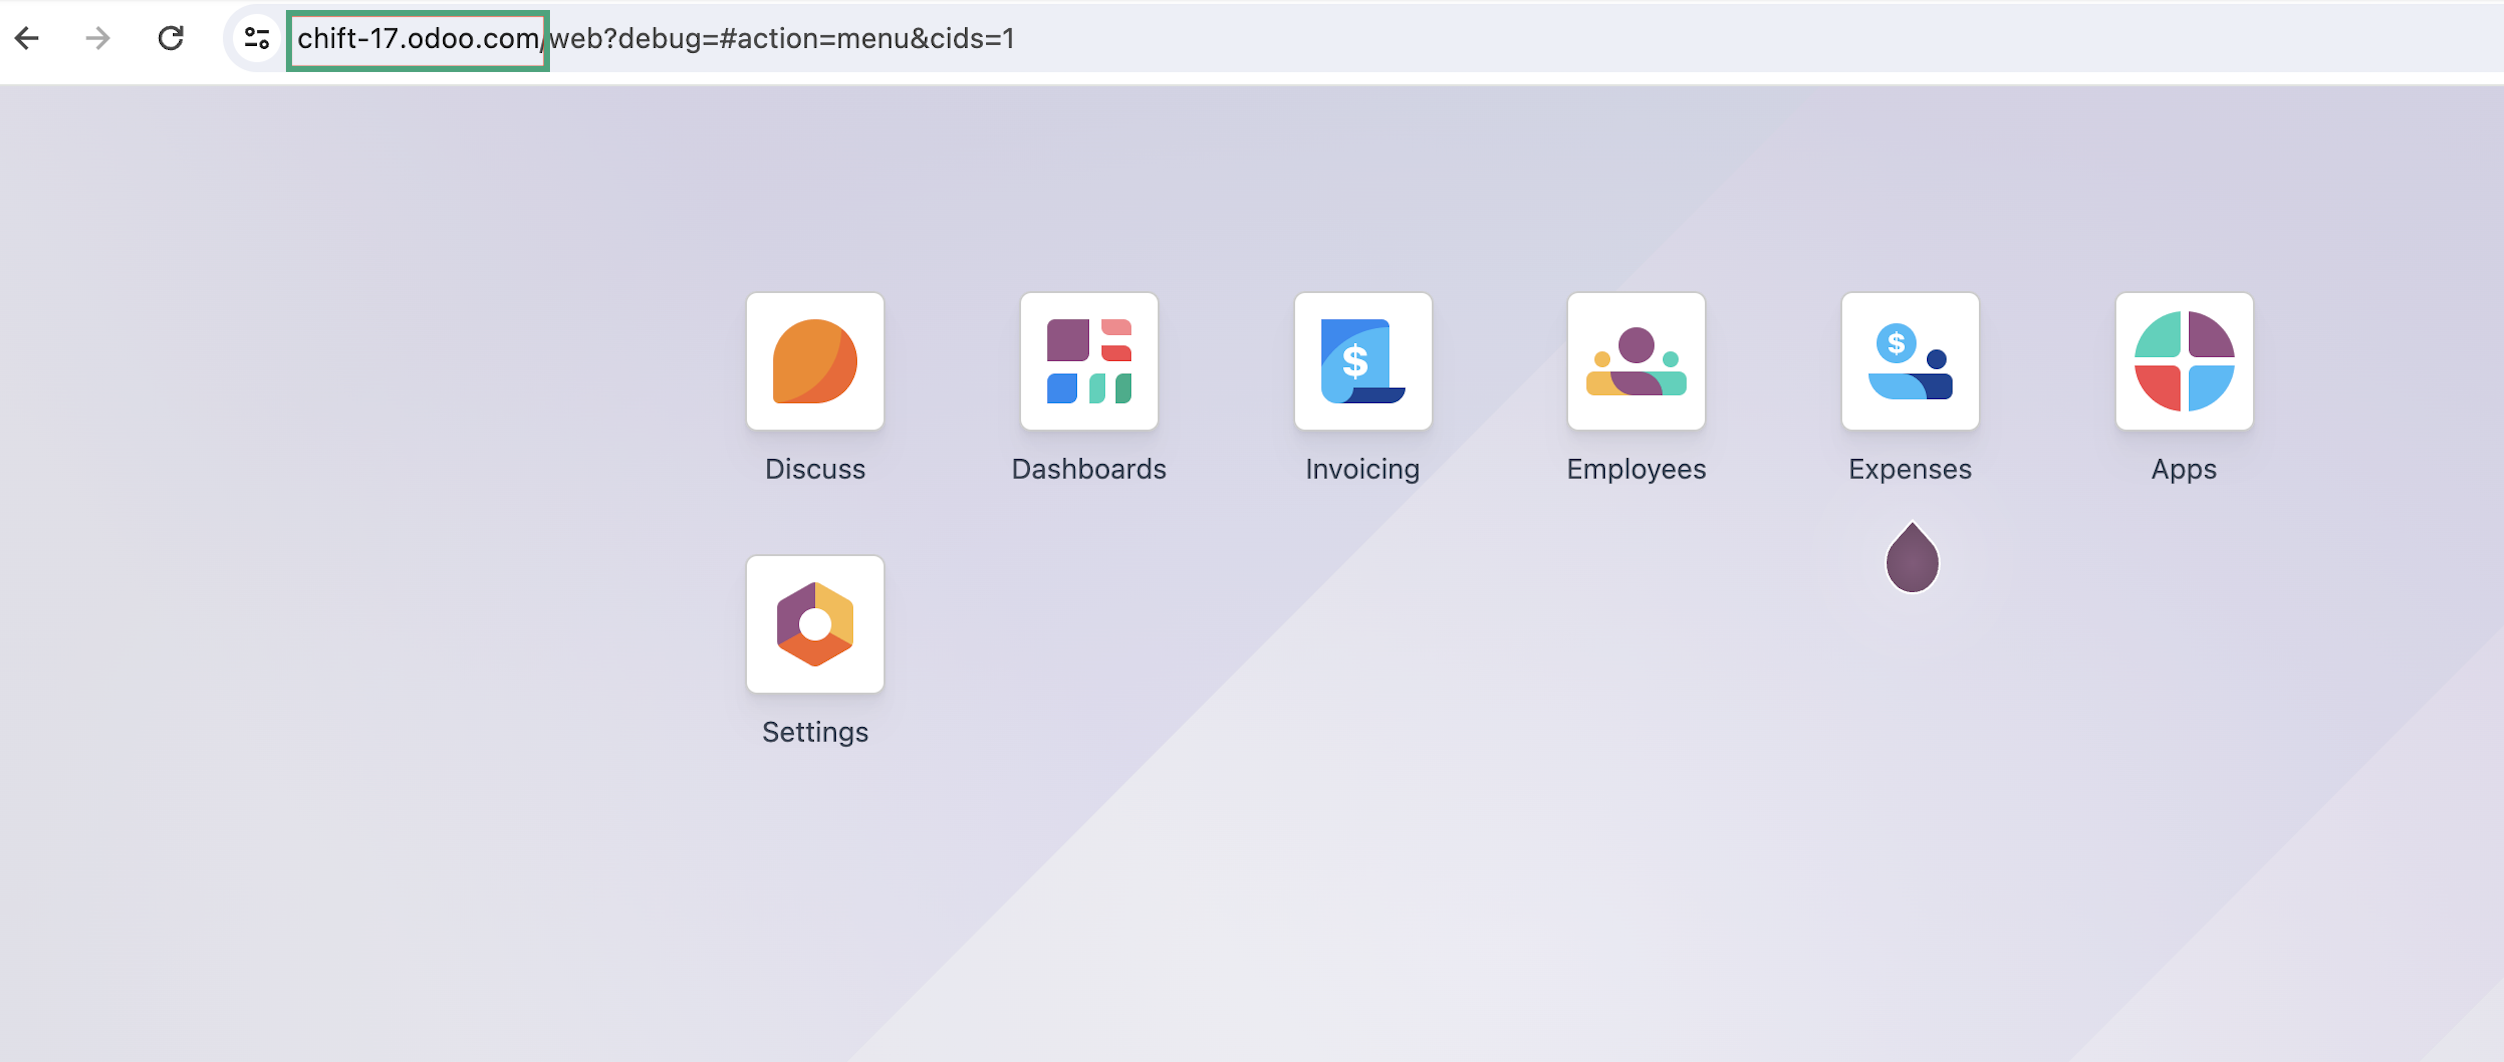
Find your Odoo URL.
-
(If you do not know or are not sure) Find your Odoo account version in your settings
-
Go to Configuration → Settings

-
From the left menu, select General Settings. Then scroll to the About section to see your version.

-
-
Find the name of your database
-
Enable developer mode in Odoo.
-
The name of your database will appear in the top right corner under your username.


-
⚡️ CONNECTION
Step 1: Choose a name for your connection. (If the connection name field is not visible, simply skip this step and continue.

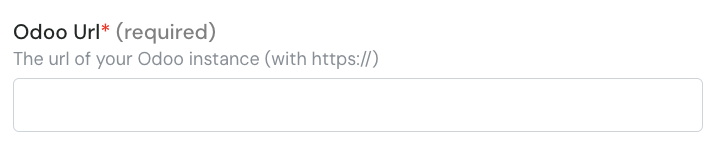
Step 2: Enter the URL of your Odoo instance.
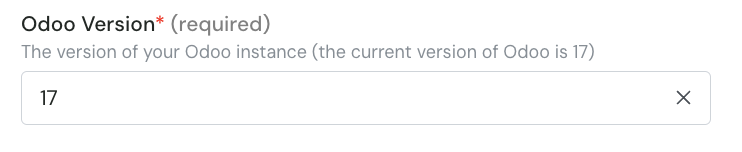
Step 3: Enter the version of your odoo account.
Step 4: Enter the database name

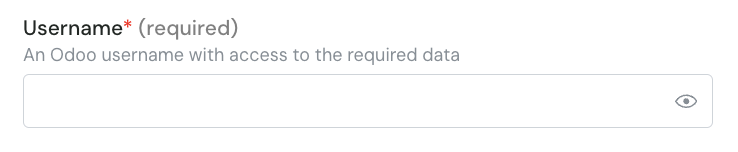
Step 5: Enter your Odoo account username.
Step 6: Enter the password of your Odoo account.
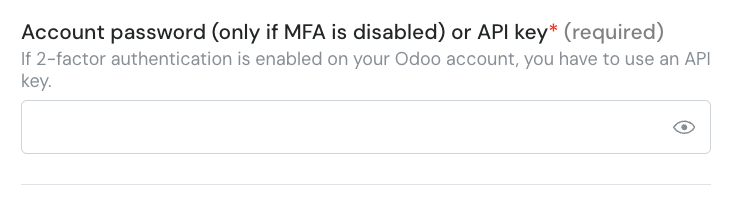
⚠ Please note that if you have activated the AFM on your Odoo account, you will need to configure an API key and use it instead of your password.
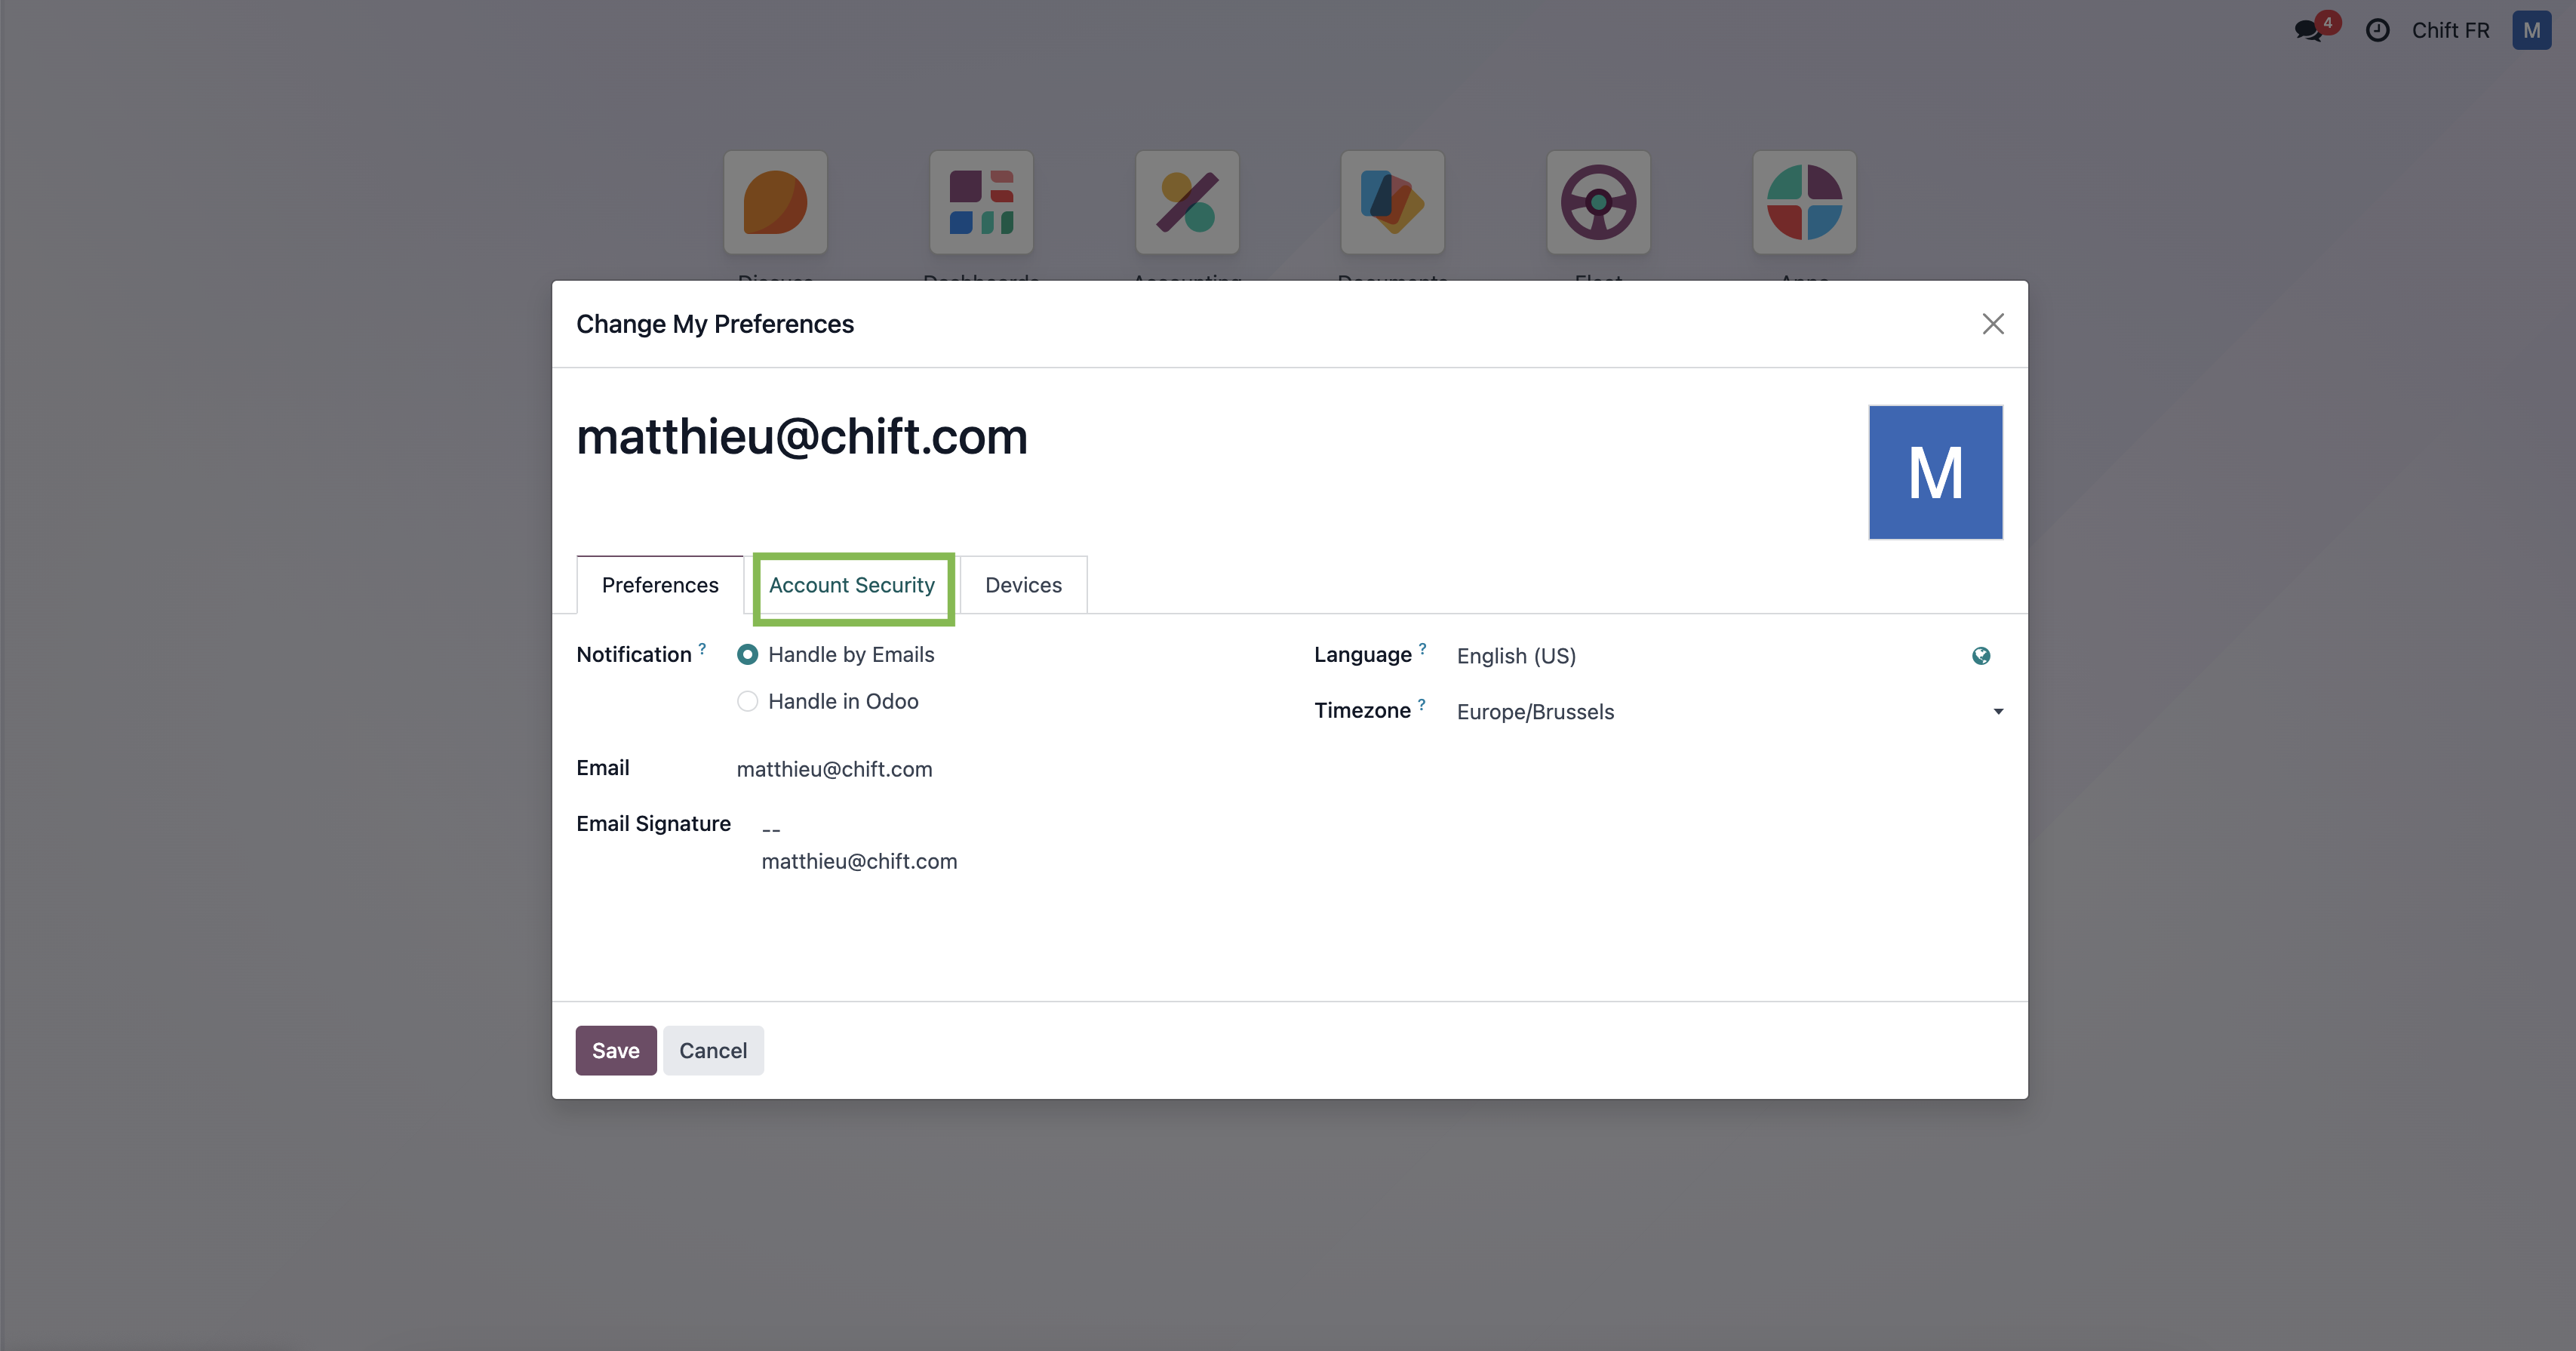
Step 6-1: If you need to generate an API key, log in to Odoo and click the button on the top right and then on "preferences".

Step 6-2: Select "Account Security"
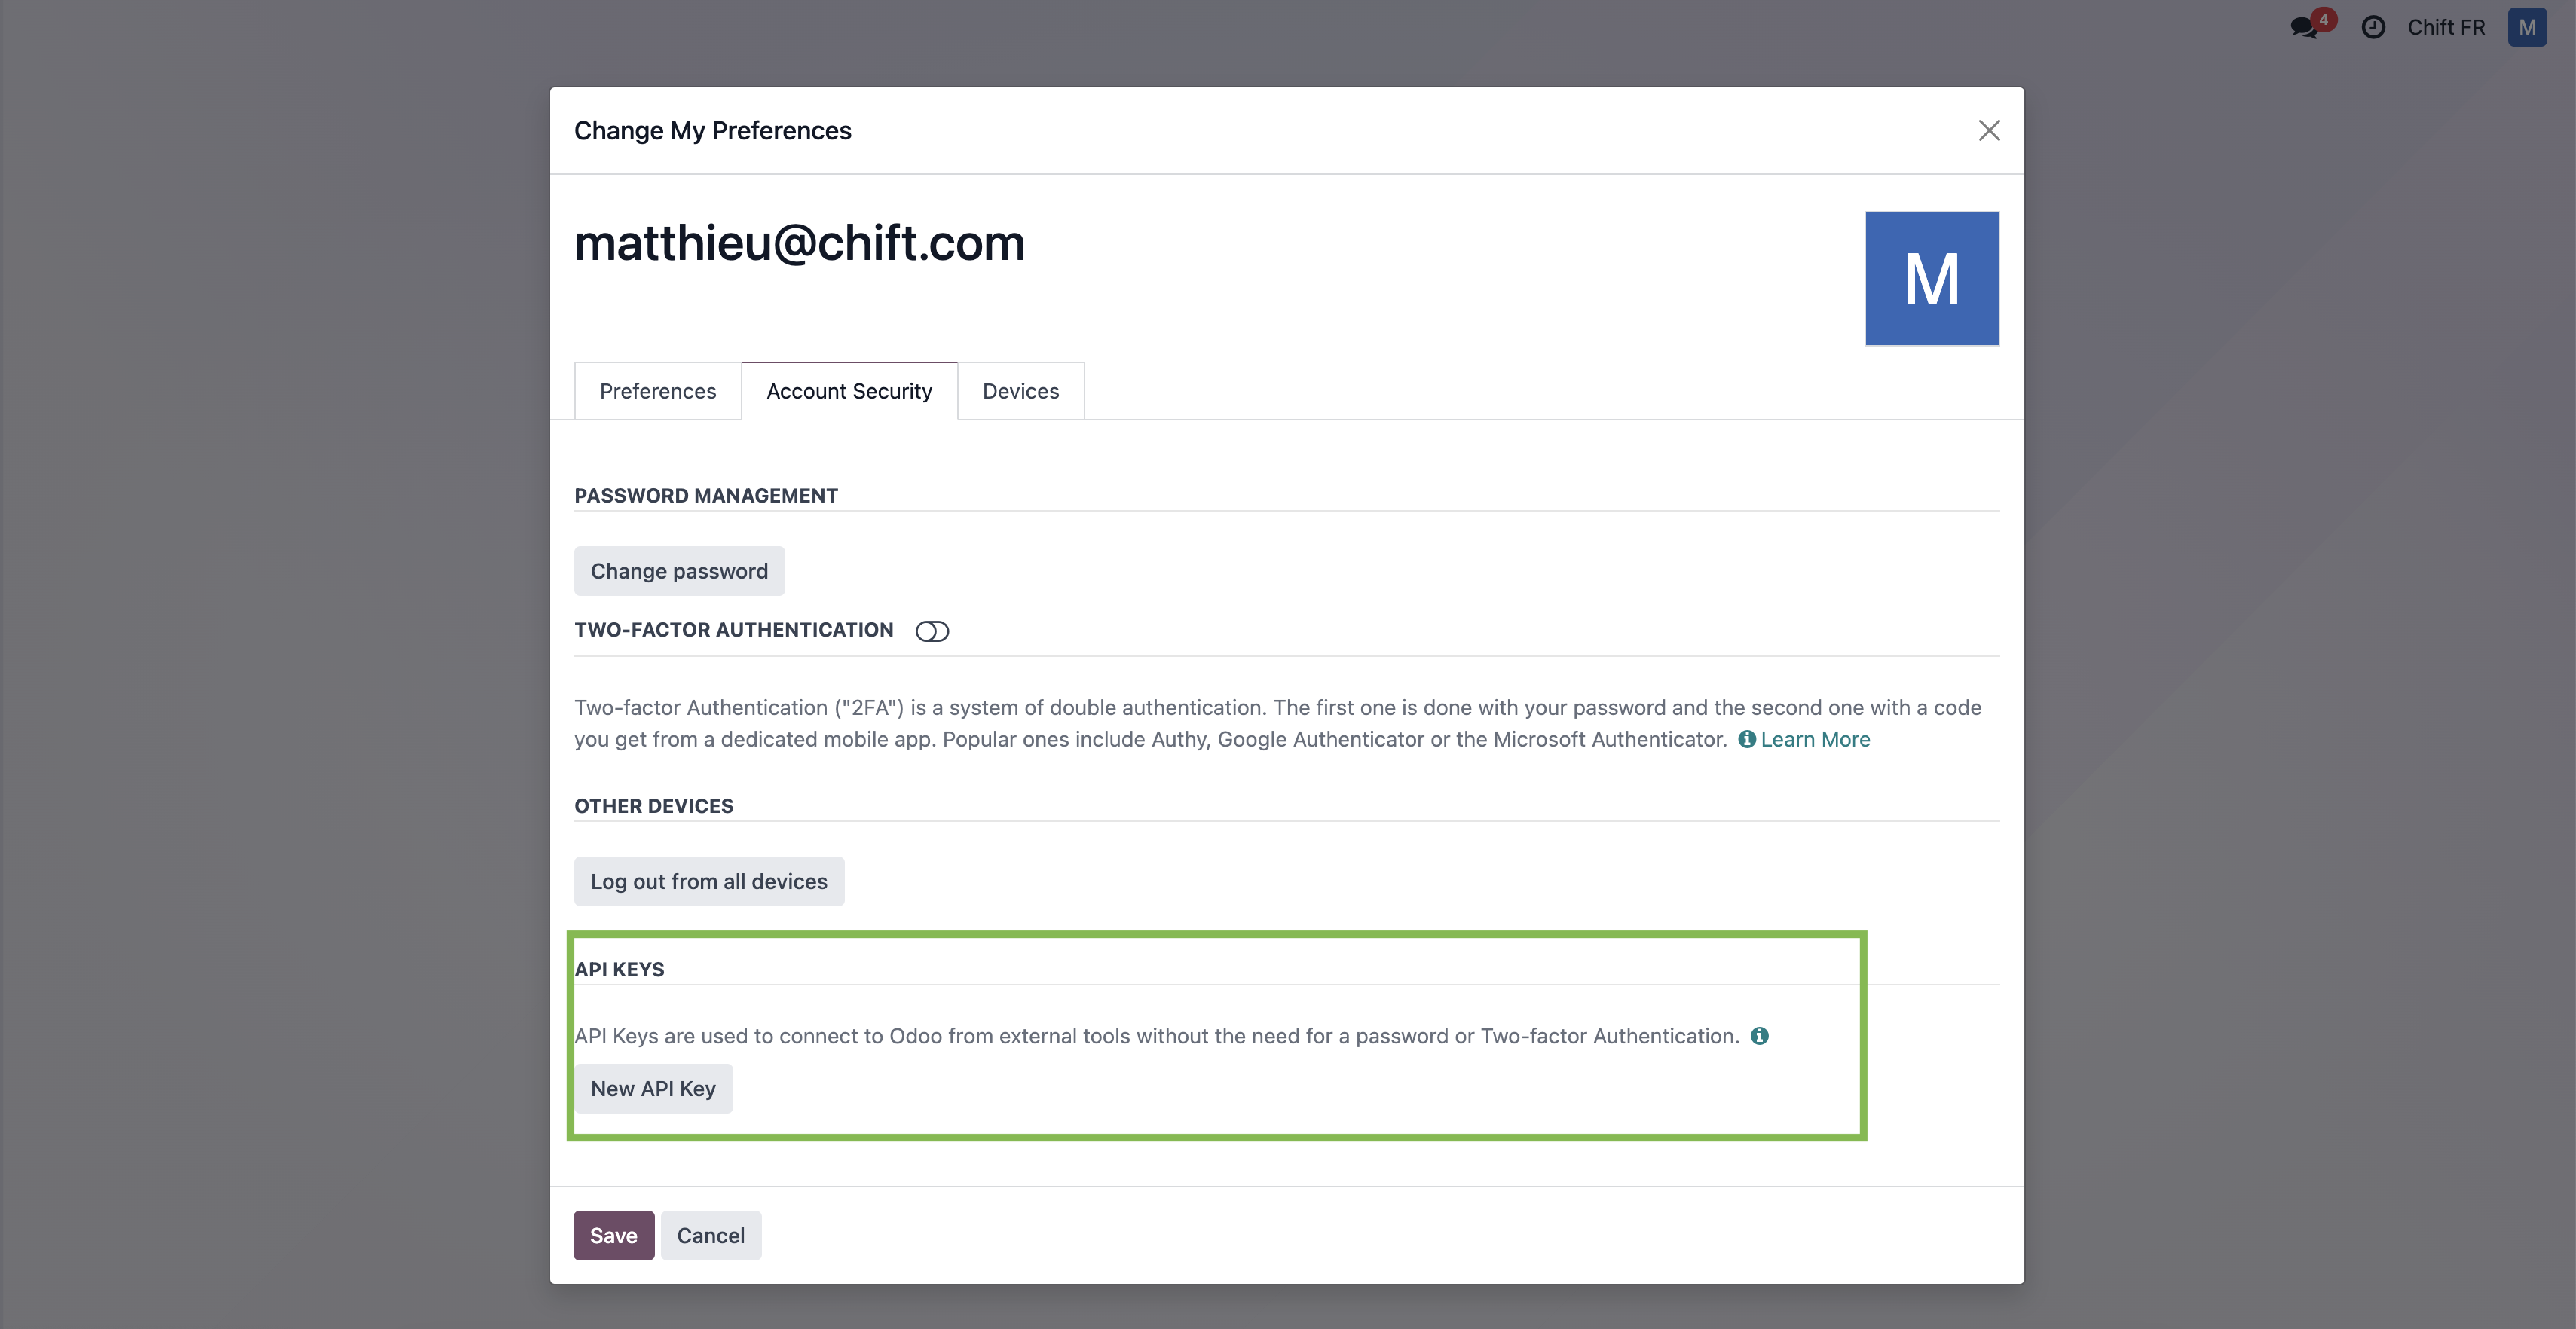
Step 6-3: Select "New API Key"
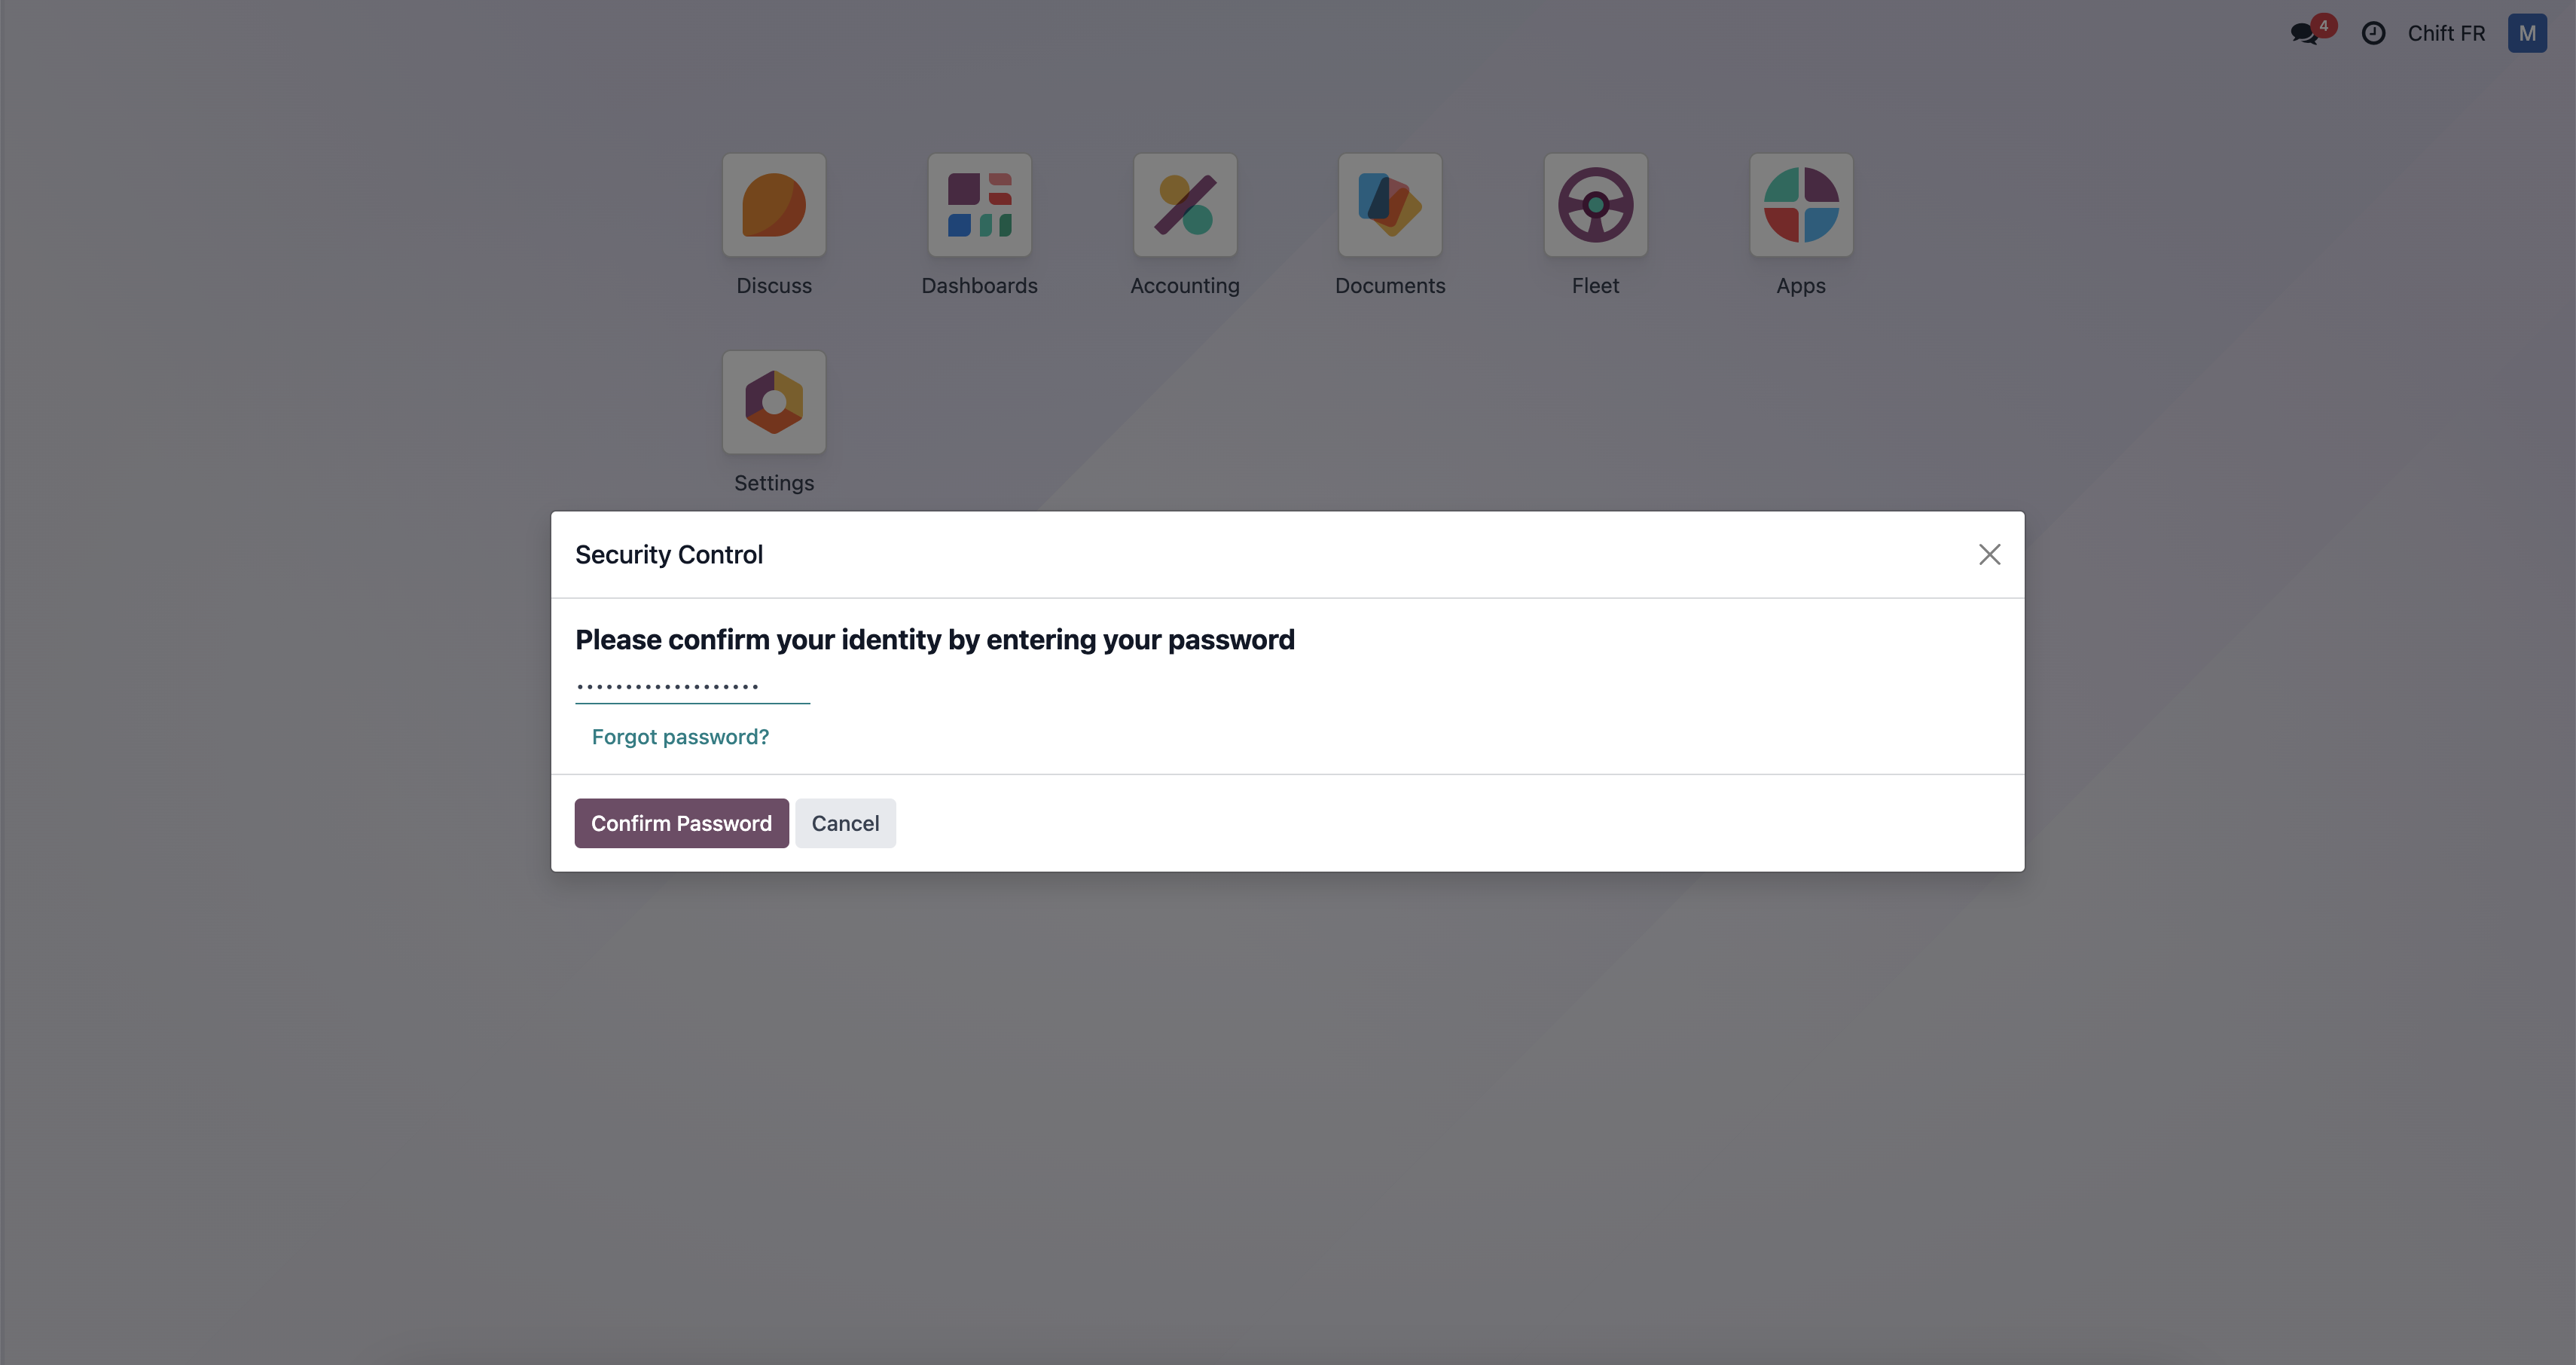
Step 6-4: Enter your password
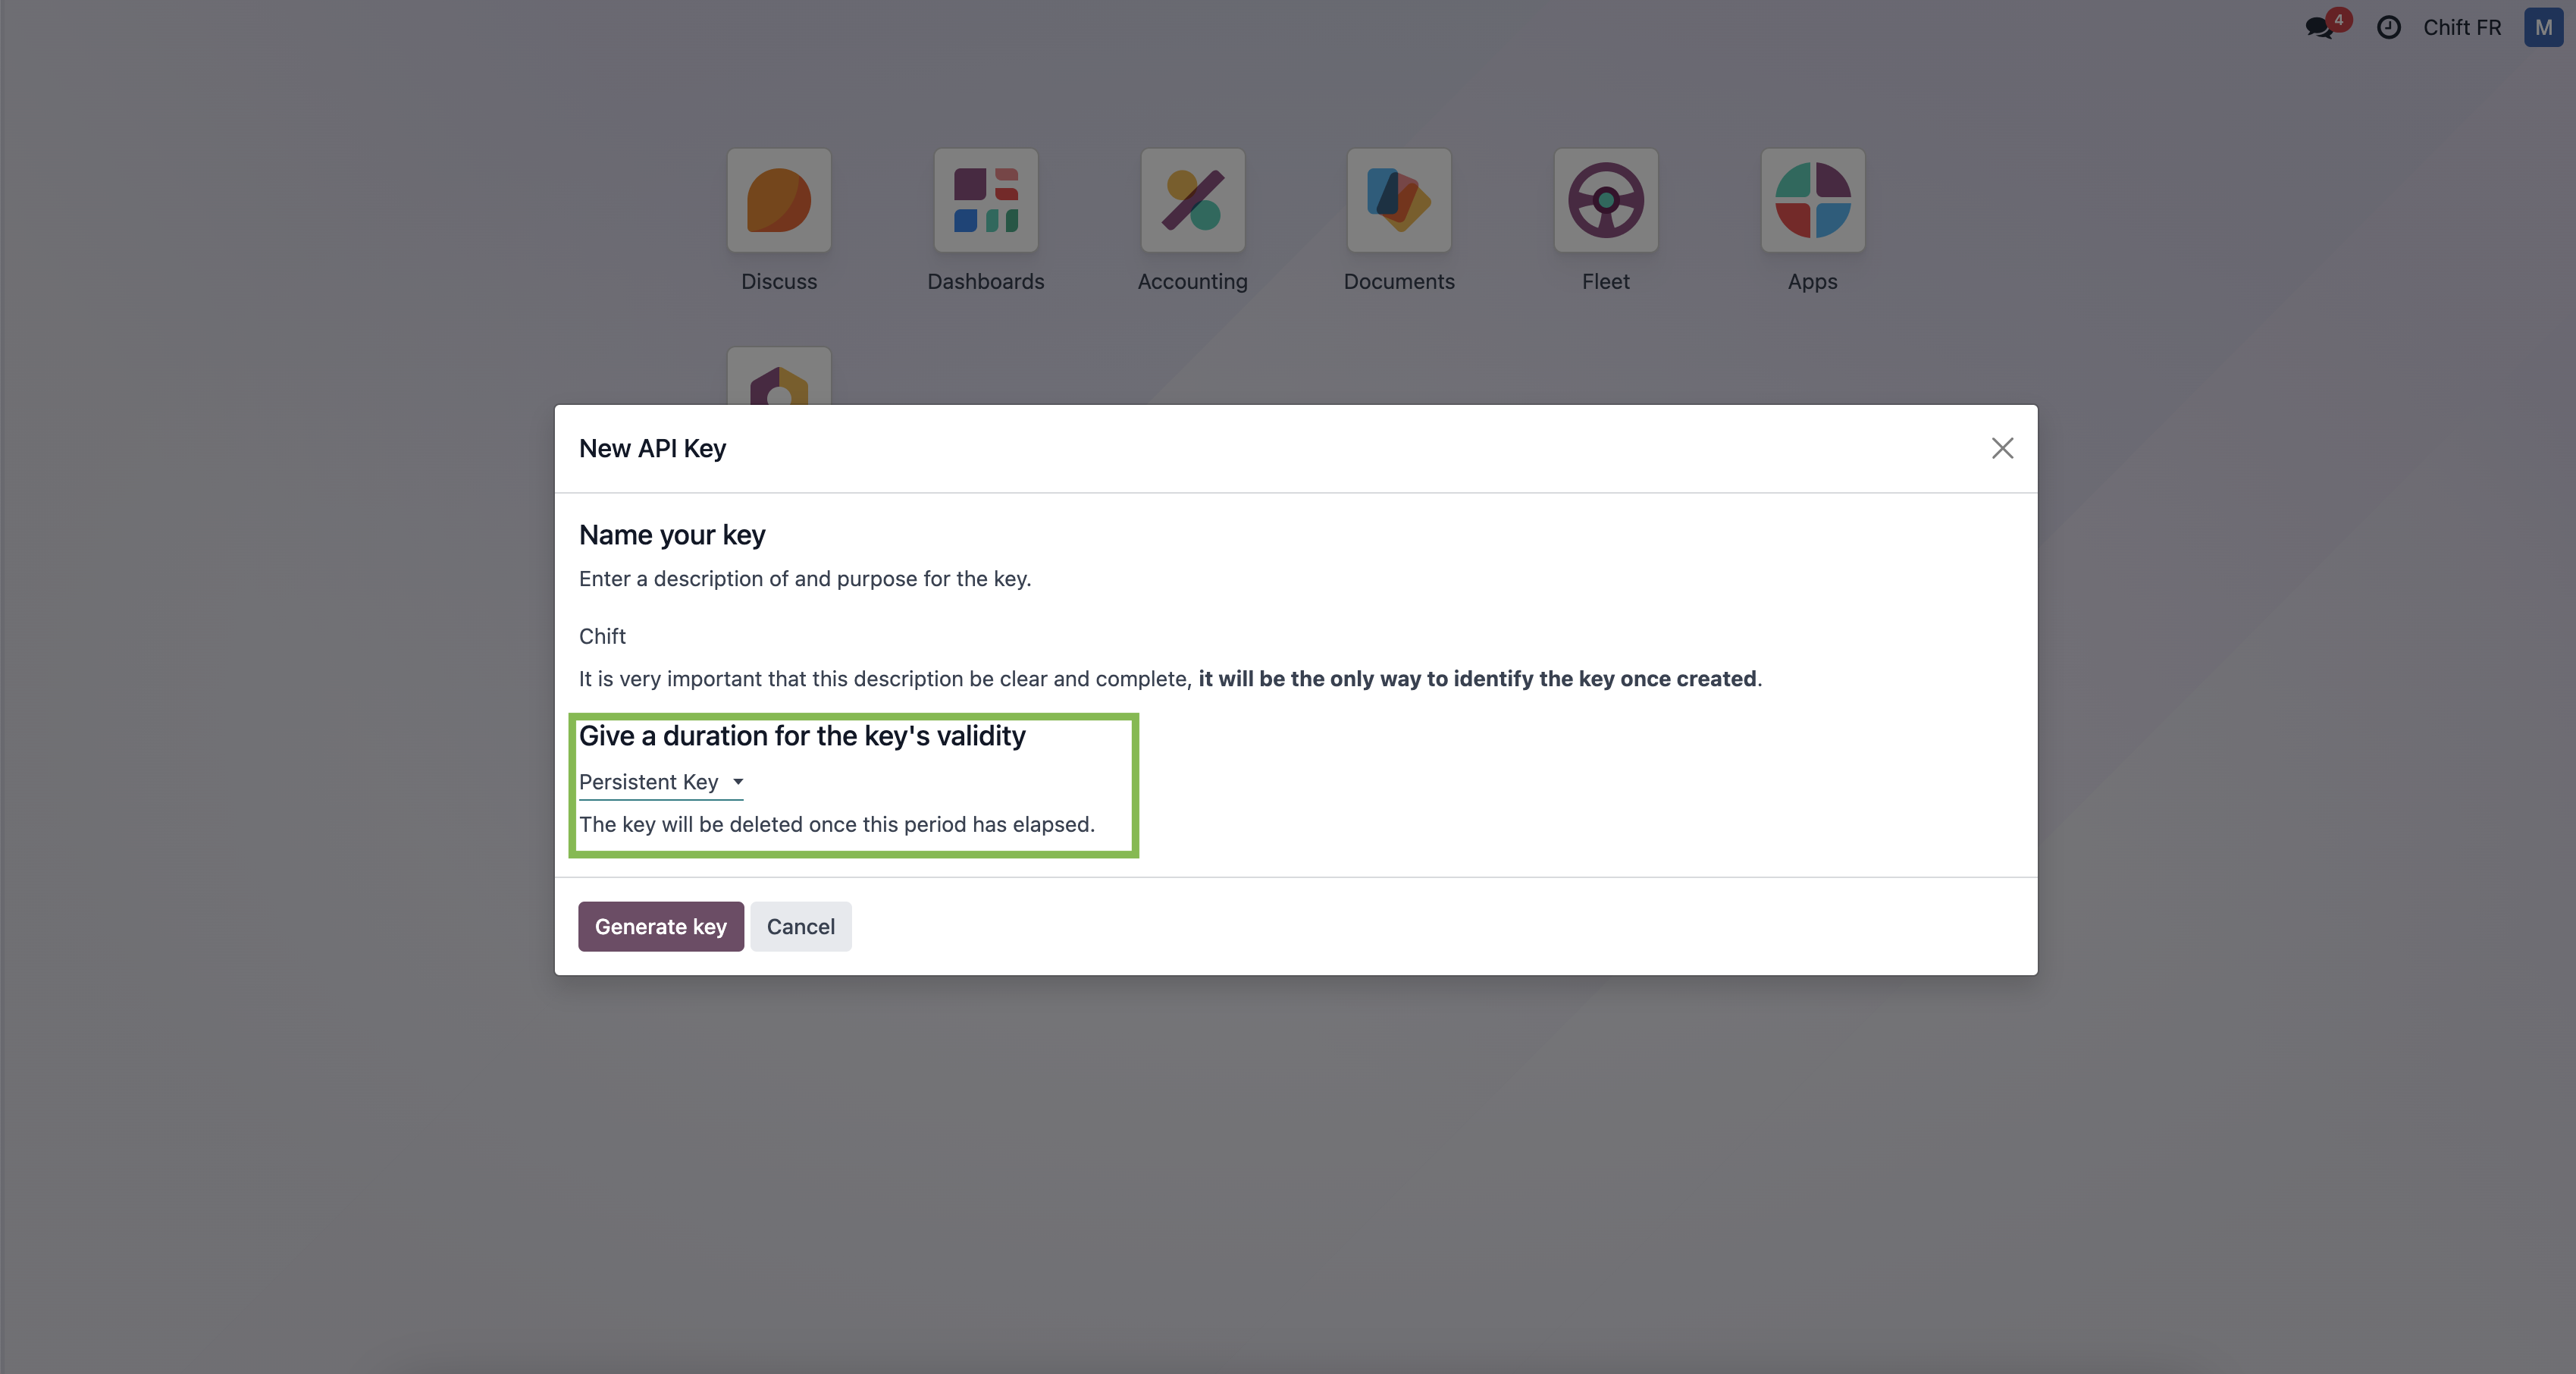
Step 6-5: Give a name to your API key and choose "persistent key" as duration.
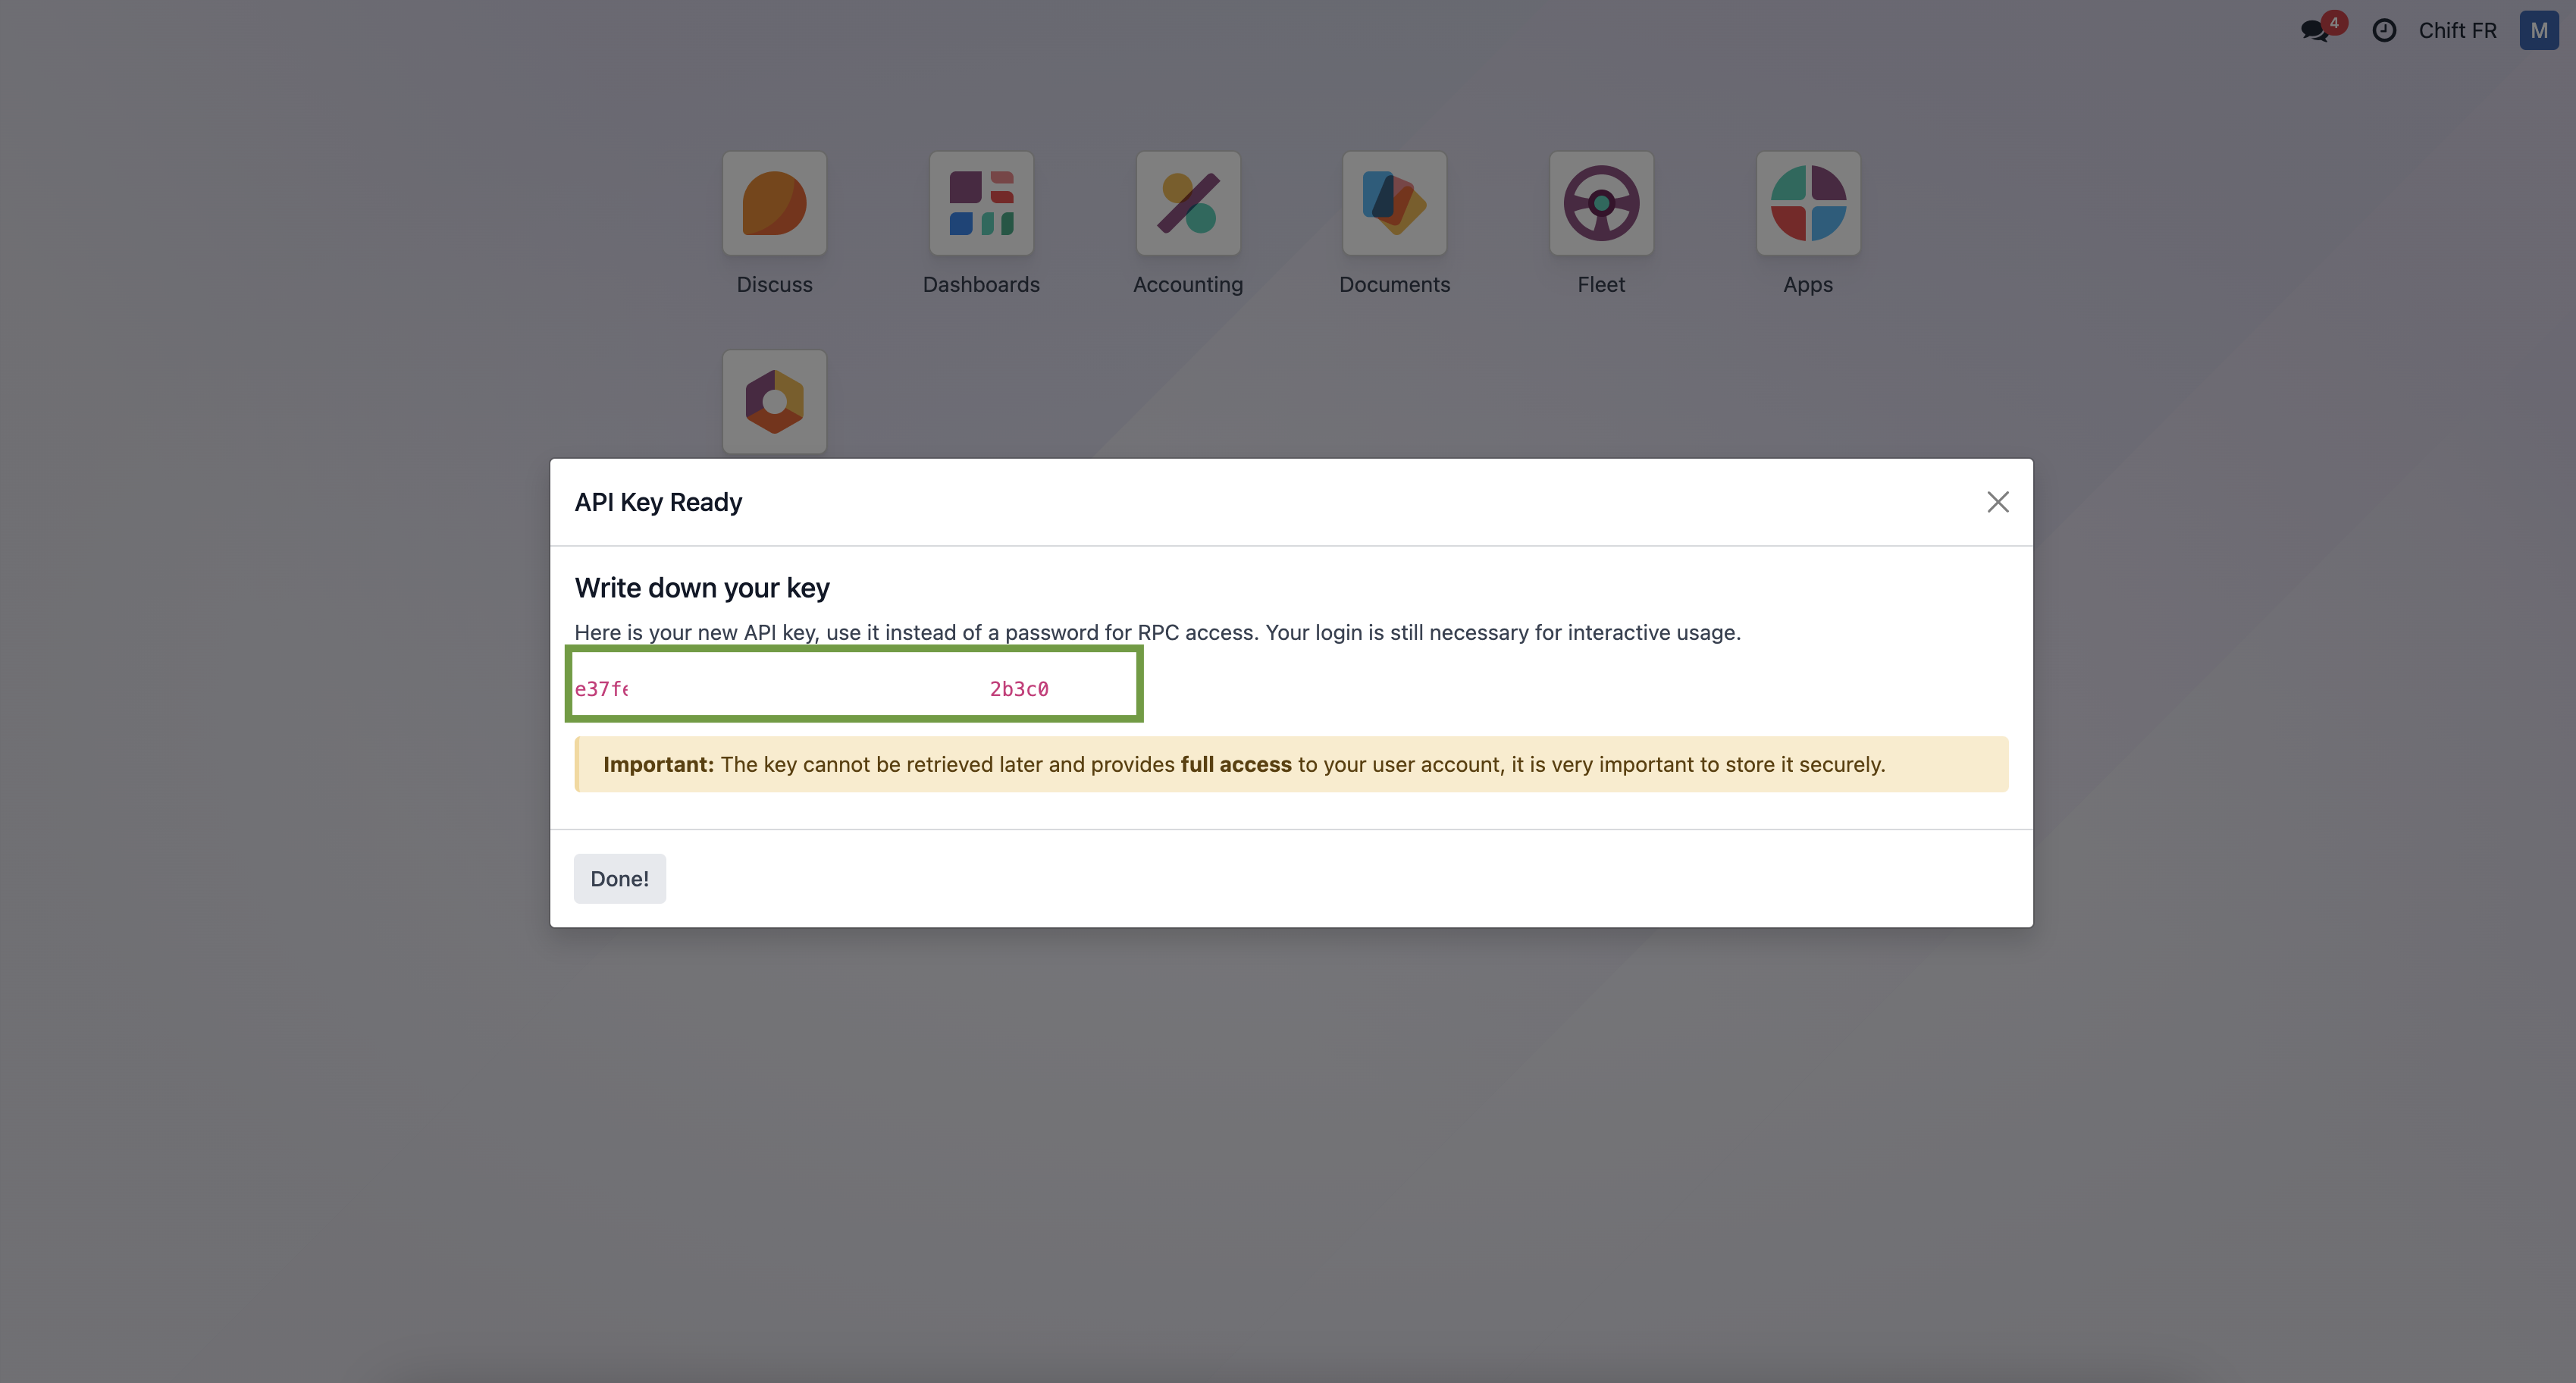
Step 6-6: Here is your API key that you can use in the Shift tunnel to connect Odoo.
Step 7: Click "Connect" to complete the connection.

CONFIGURATION
Step 1: Select the company to connect to Odoo.

Step 2: Click "Submit" to finalize the configuration