
Full configuration of WinBooks Classic
PREREQUIRED
-
Winbooks 7 or higher is required
-
You must install a program on the same server where Winbooks is installed. To ensure the correct operation of the connector on the server, please ensure before installation that:
-
You have admin access to the server where Winbooks is installed to proceed with the installation
-
Be aware the server/computer must be permanently accessible with Internet access (24 hours a day). Otherwise, data will not be synchronized
-
-
You know your Winbooks username and password
-
The .NET Framework 4.8 MUST be installed on the server/computer where the local agent will be installed!
If you use network disks, all paths indicated in the next steps will have to be UNC paths for the service to work properly. If this is your case, then you will also need to modify the running user to use a user with access to Winbooks and the network disk.
PREPARATION
Watch this video:
-
Find your file name in your Winbooks account
-
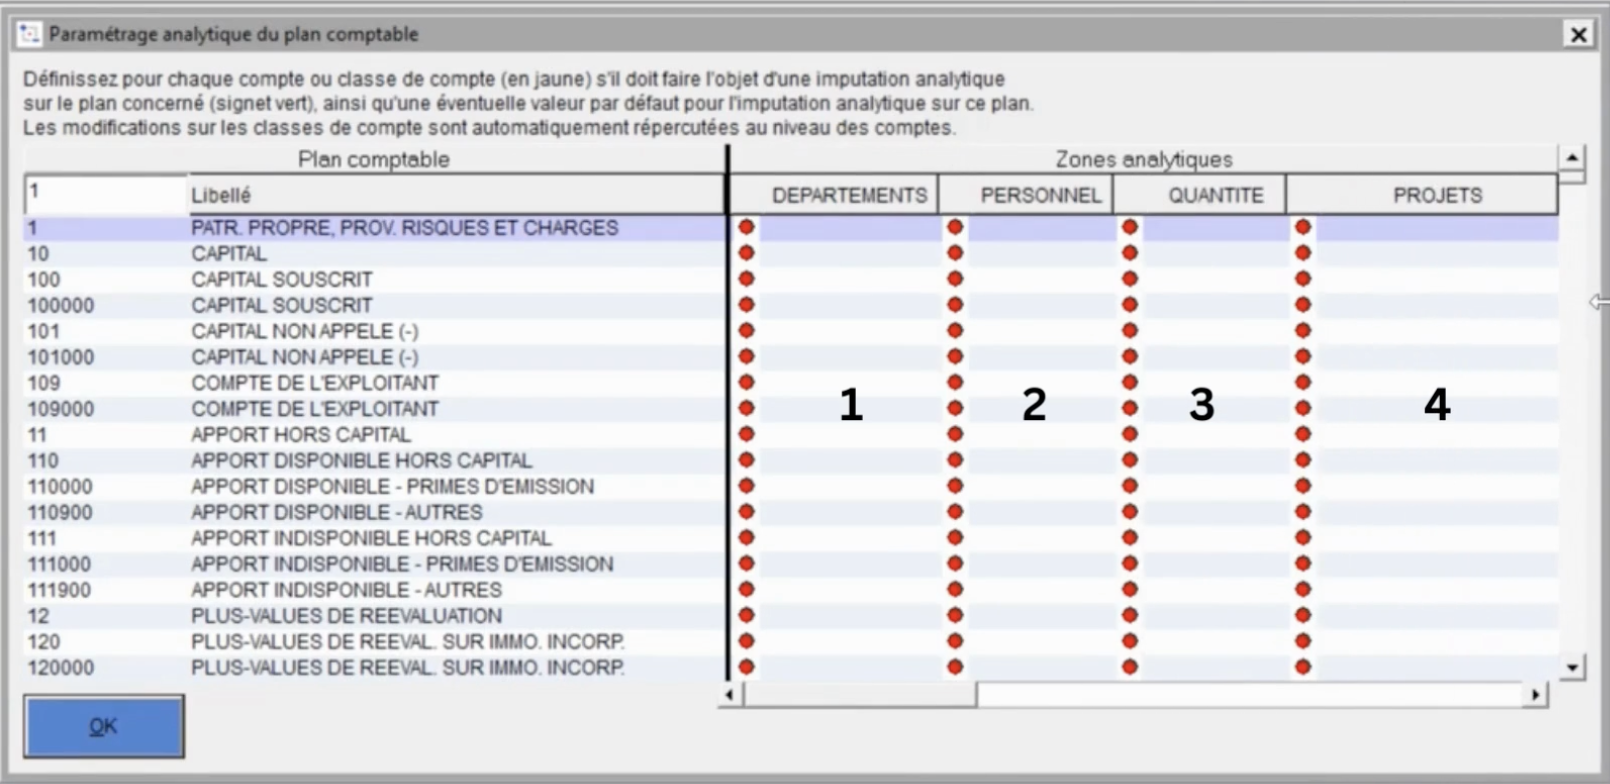
Select Default Analytical Plan
-
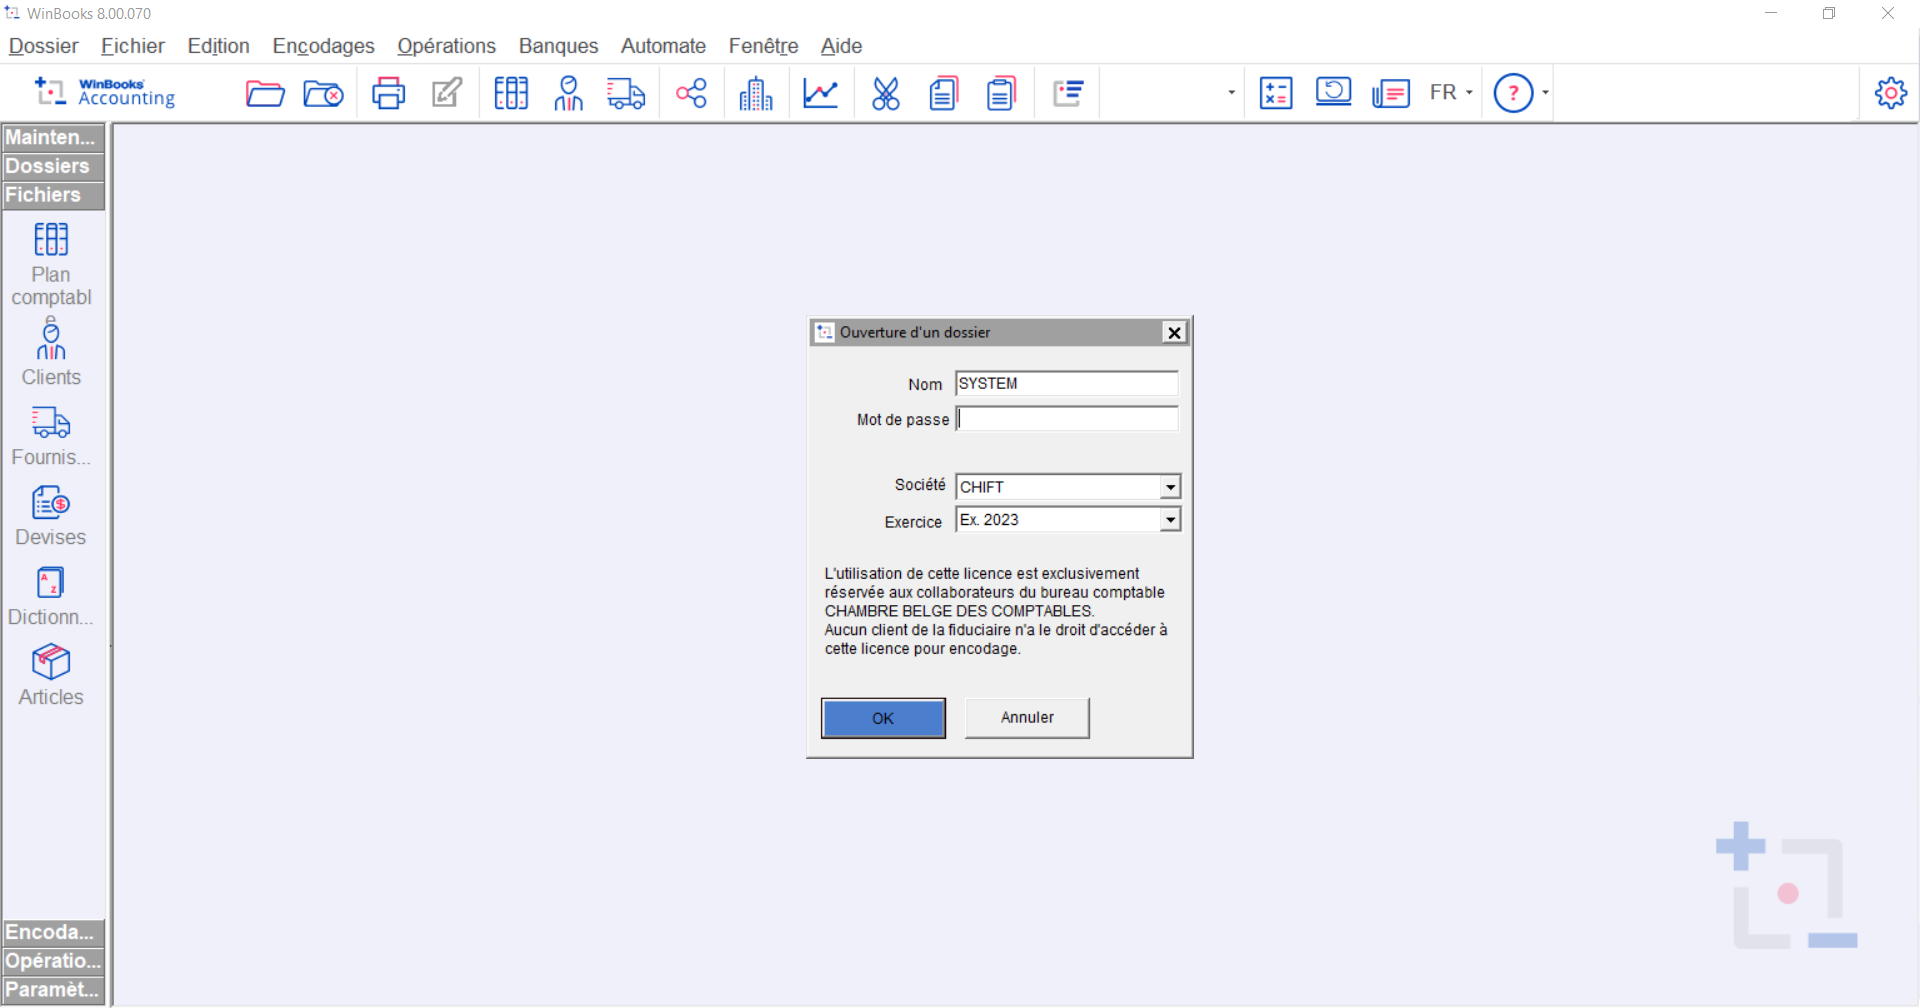
Go to your Winbooks account.
-
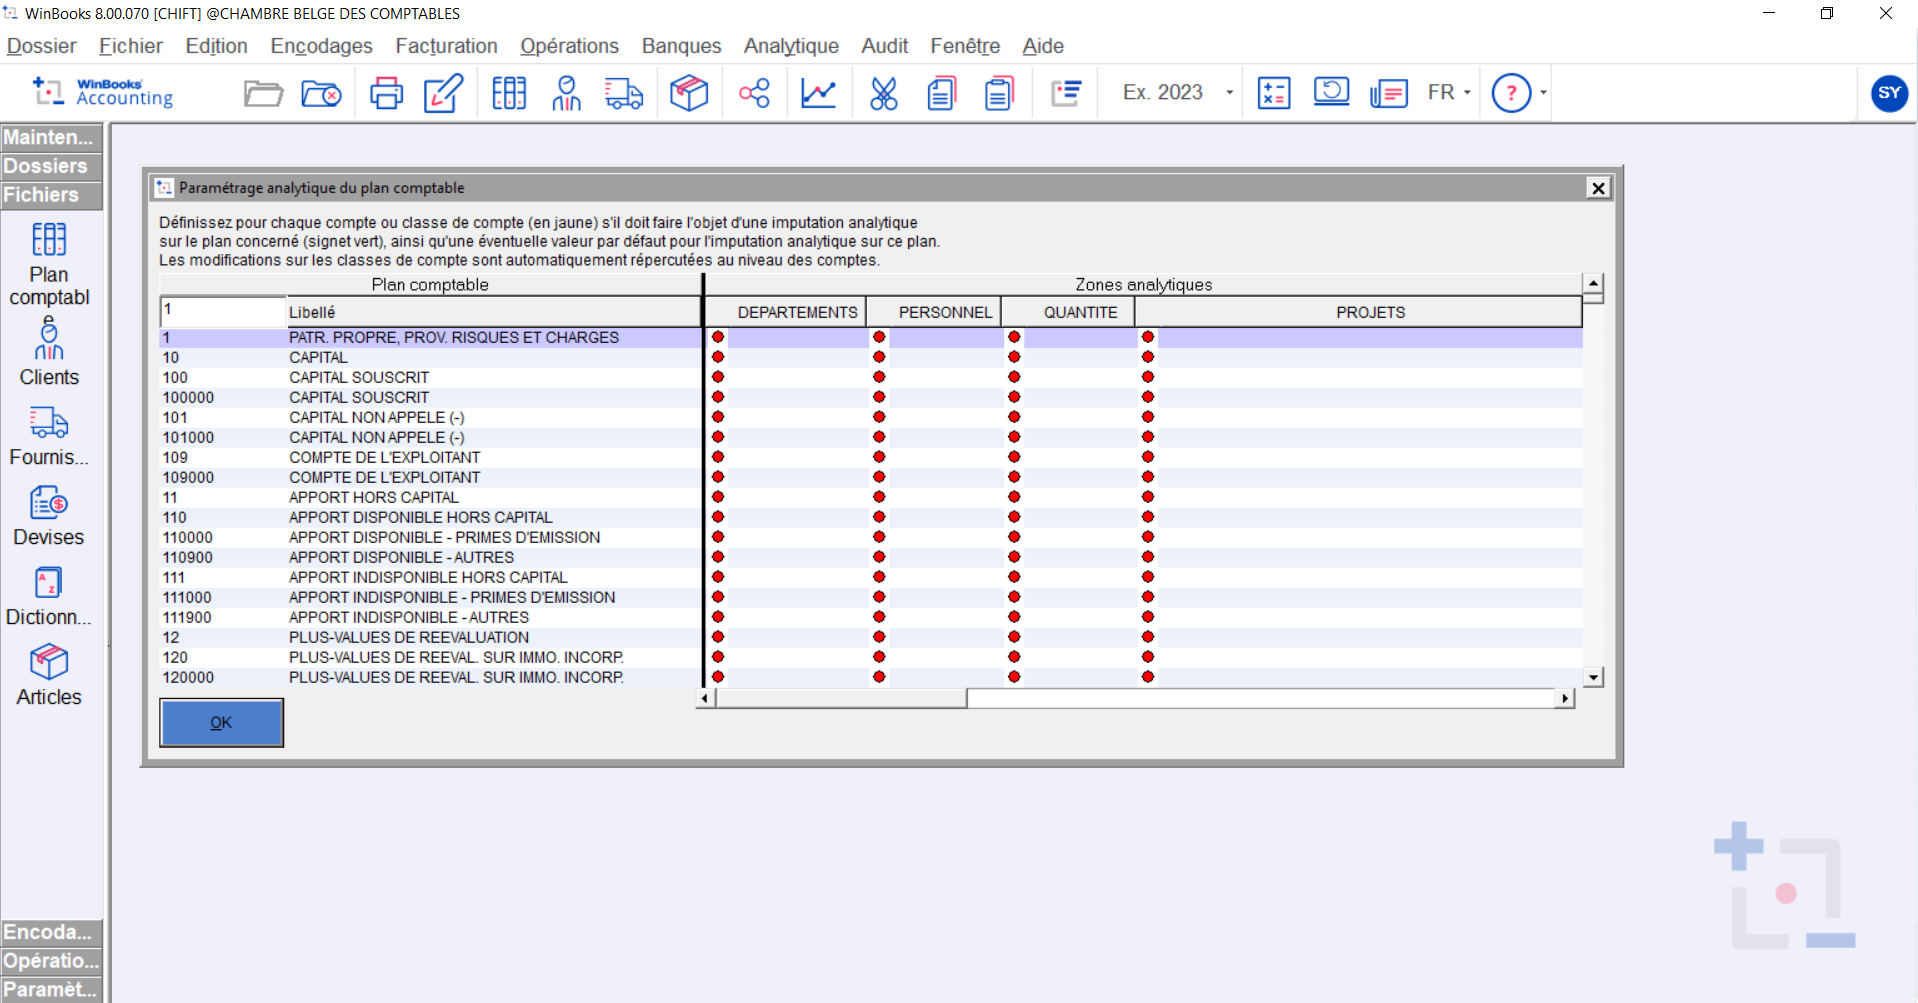
Select Analytics tab → Settings → Chart of Accounts

-
-
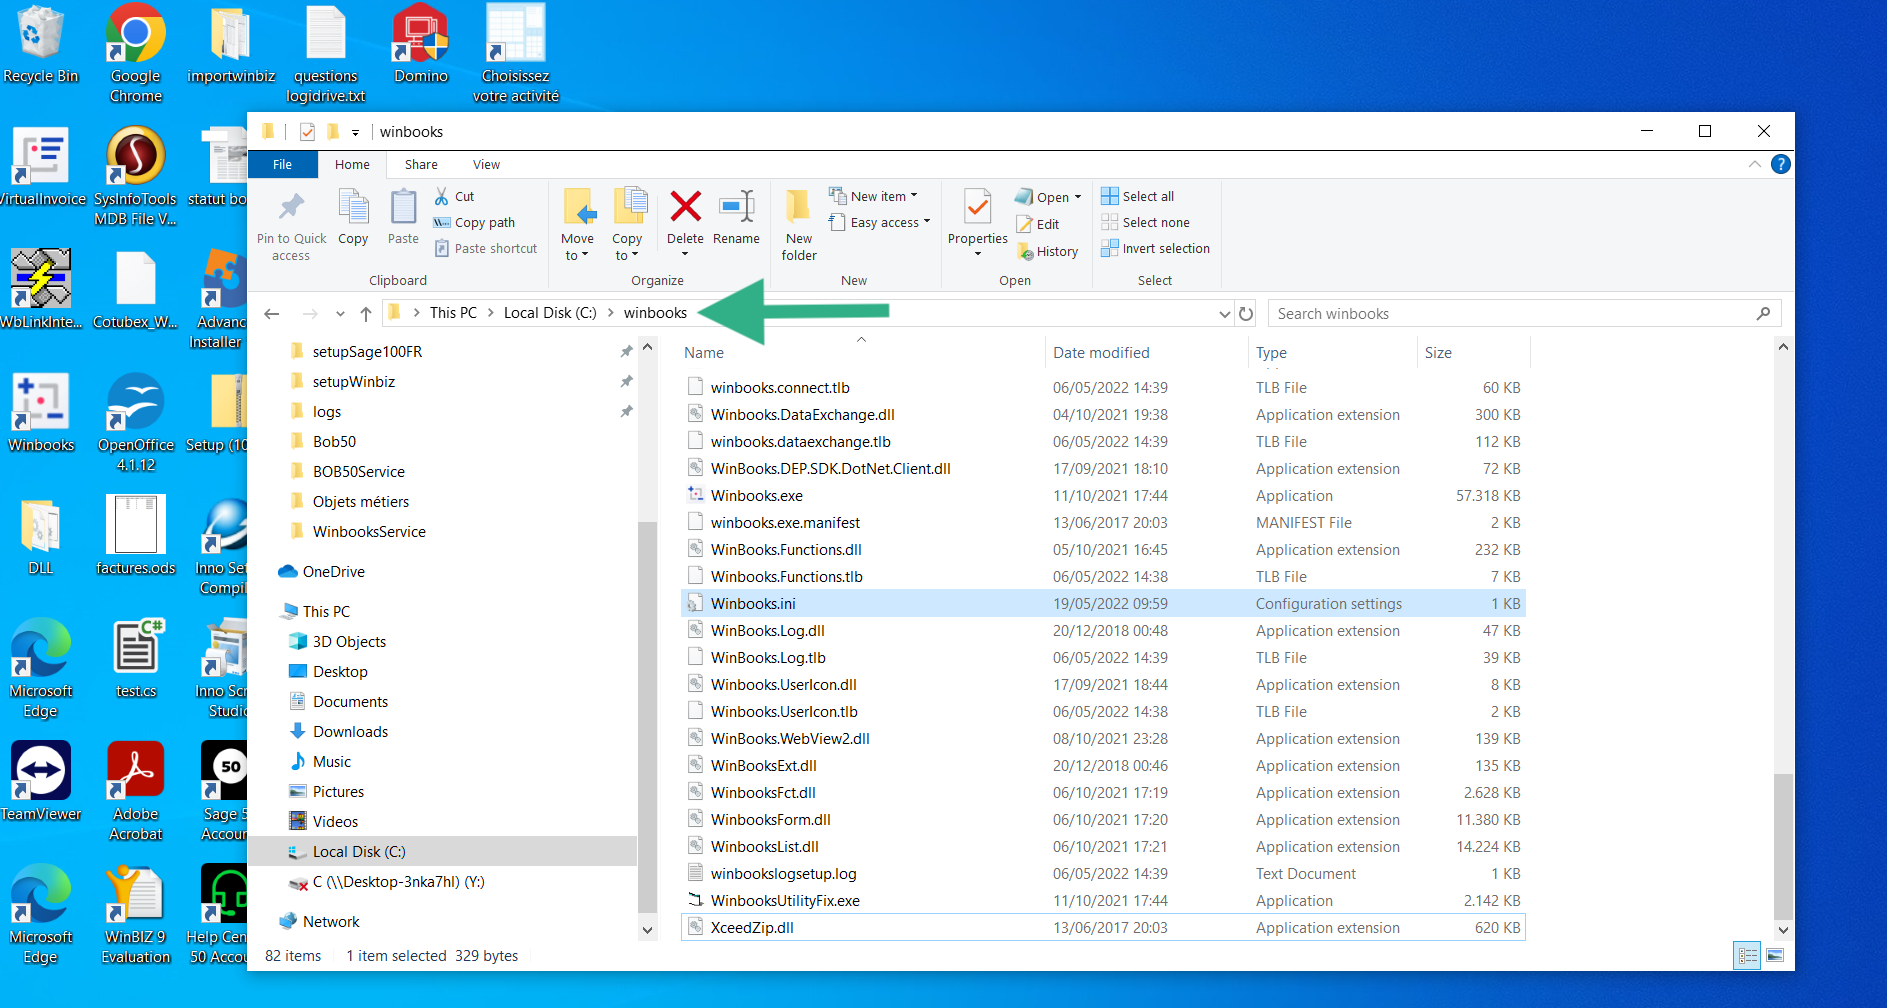
On your computer, find the disk on which your winbooks.ini is located and copy the folder path.
CONNECTION
Step 1: Choose a name for your connection.

Step 2: Select the analytical plan you want to configure by default & enter the path where your Winbooks software is located.

Step 3: Download the Zip archive and paste there on the server desktop on which Winbooks is installed. If the person performing the installation is not the person who completed the form, then you can simply click on the "Send by Email" button and enter the email of the person in question.

Step 4: Enter your folder code, corresponding to your Winbooks account. This is one of the elements described earlier in the documentation, but also the name you see when you need to log in to Winbooks.

Step 5: Click "Validate" to complete the connection.
Step 6: Return to your Winbooks server and start installing Windows service by double clicking on the WinbooksServiceSetup file of the downloaded folder in Step 3.
DOWNLOAD OF THE LOCAL AGENCY
Winbooks is installed on a server. To enable data sharing, it is necessary to download a program (local agent) that will allow data transmission with Winbooks.
After the login step, you will have two options to download and install the local agent on the same server as your Winbooks instance:
-
If Winbooks is hosted on your computer, you can download the program directly by clicking on Download.
-
If Winbooks is hosted on another server, you can email the program to the person or company hosting Winbooks so that they can download and install it.
Here is also a full video of the installation of the service.
It is necessary for the service to install VFPoleDB, the installation page will launch itself when the service is installed.
It is necessary not to install the "sample data" and to properly install it for everyone, otherwise the user running the service will not have access to it.
🚨 If there's an error with local agent Winbooks in Shift
Go to the log folder in the Service (C:/Program Files (x86)/WinbooksService/Log/log.html) and open the file with your default browser. The most recent lines will be at the end of this file. If these files do not exist yet, this implies that we have not yet tried to communicate with this service and therefore there is no log to observe. In this case it is necessary to make queries about the service so that the files in question are created.
Does the user use a network drive?
-
Update the settings.json to inform it about your network player
If the user uses a network drive, some modifications must be made in the settings.json to allow the connection to work properly.
You will first have to find the UNC path of your network drive.
For example, if you use the P:// drive, it is most likely a network drive, so you will need to get the UNC path for that drive. He'll look like something like this: \\chi-win02\sage_compta
You will then need to update the value of the settings.json to allow the agent to know how to manage this path P://. For this, you will find two values in the Json: toReplace and replaceWith. The default values will be set to null
The idea is therefore to change the values provided for these fields and fill in the values you obtained just before.
You will then end up with the following elements in the settings.json
"toReplace": "P://" , "replaceWith": "\\\\chi-win02\\sage_compta"
Note that in this json file, all must be doubled (here in my example, chi-win02sage compta becomes chi-win02sage compta)
-
Make sure that the user running the service has access to Winbooks and network drive
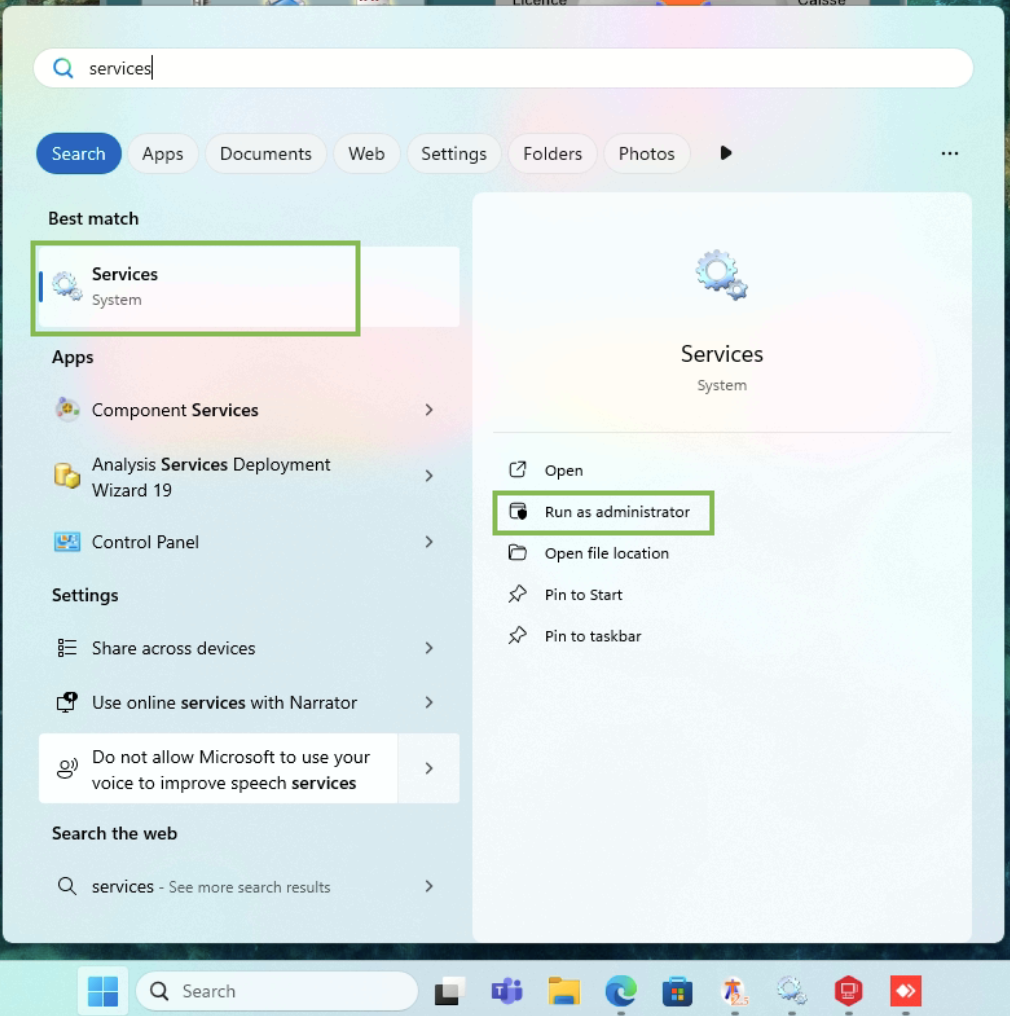
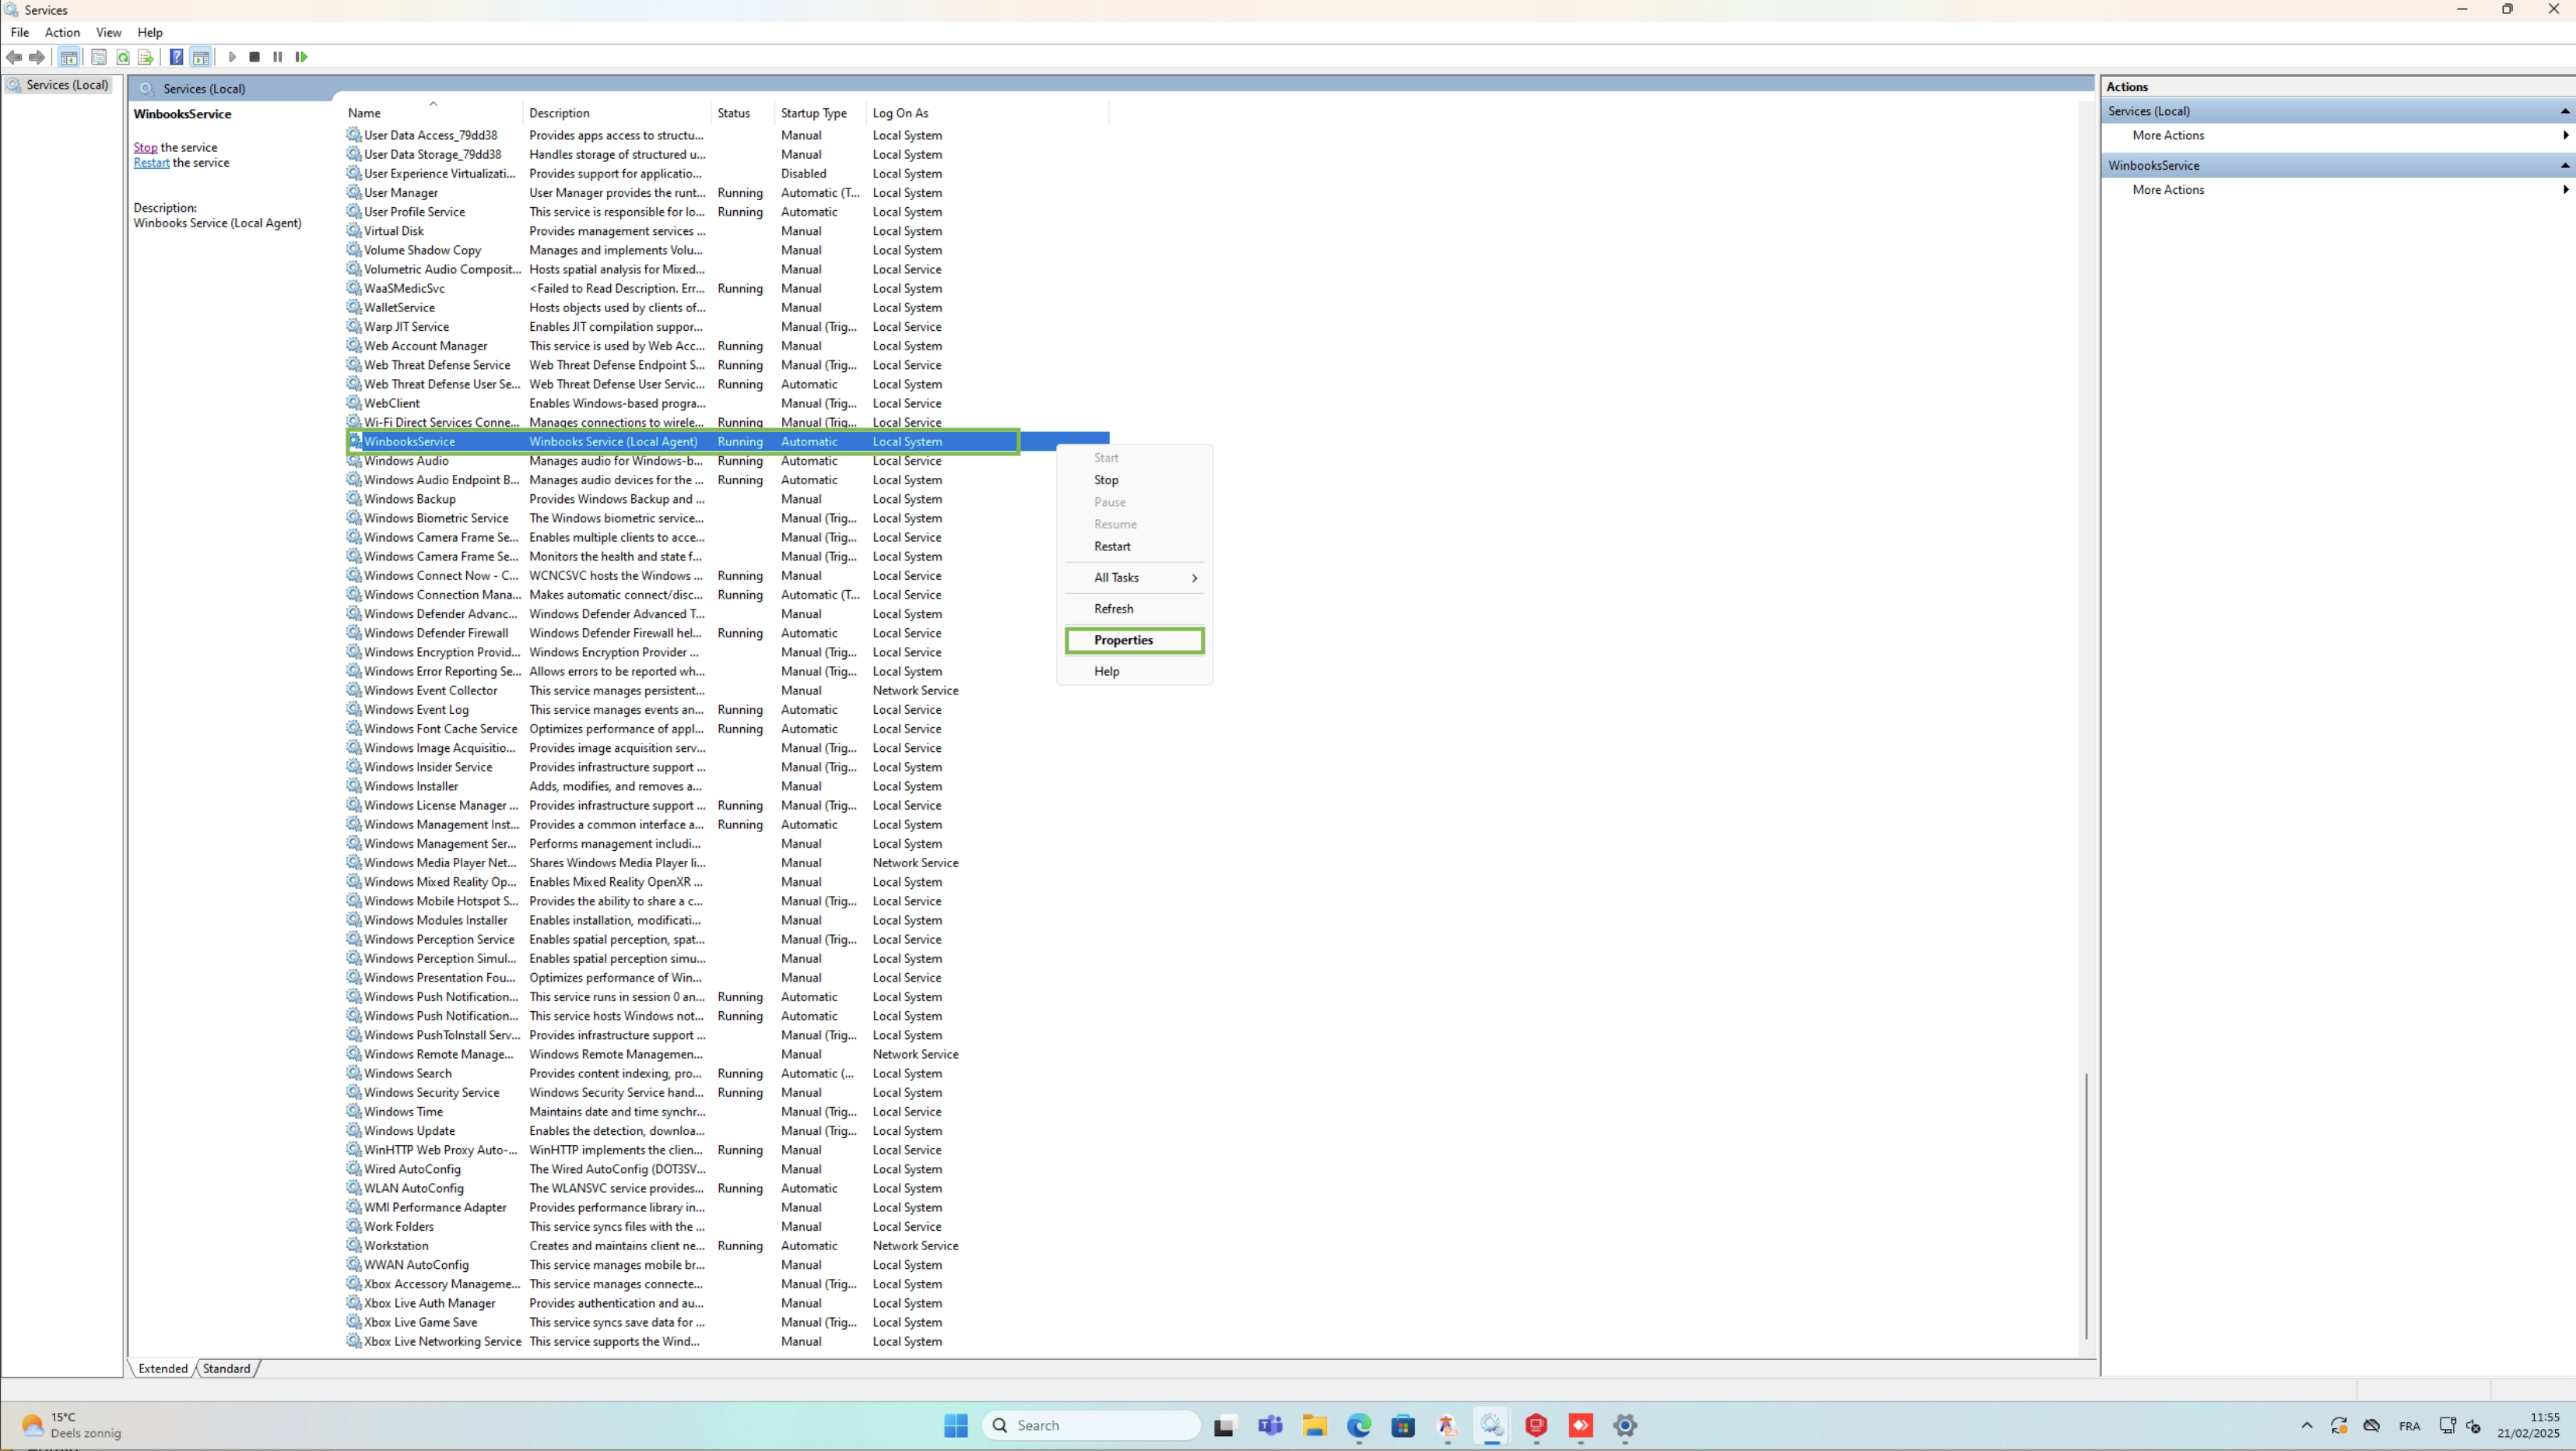
Open the service tab of your Windows server by searching with the service keyword on your server.

Open it and search for the service called WinbooksService.
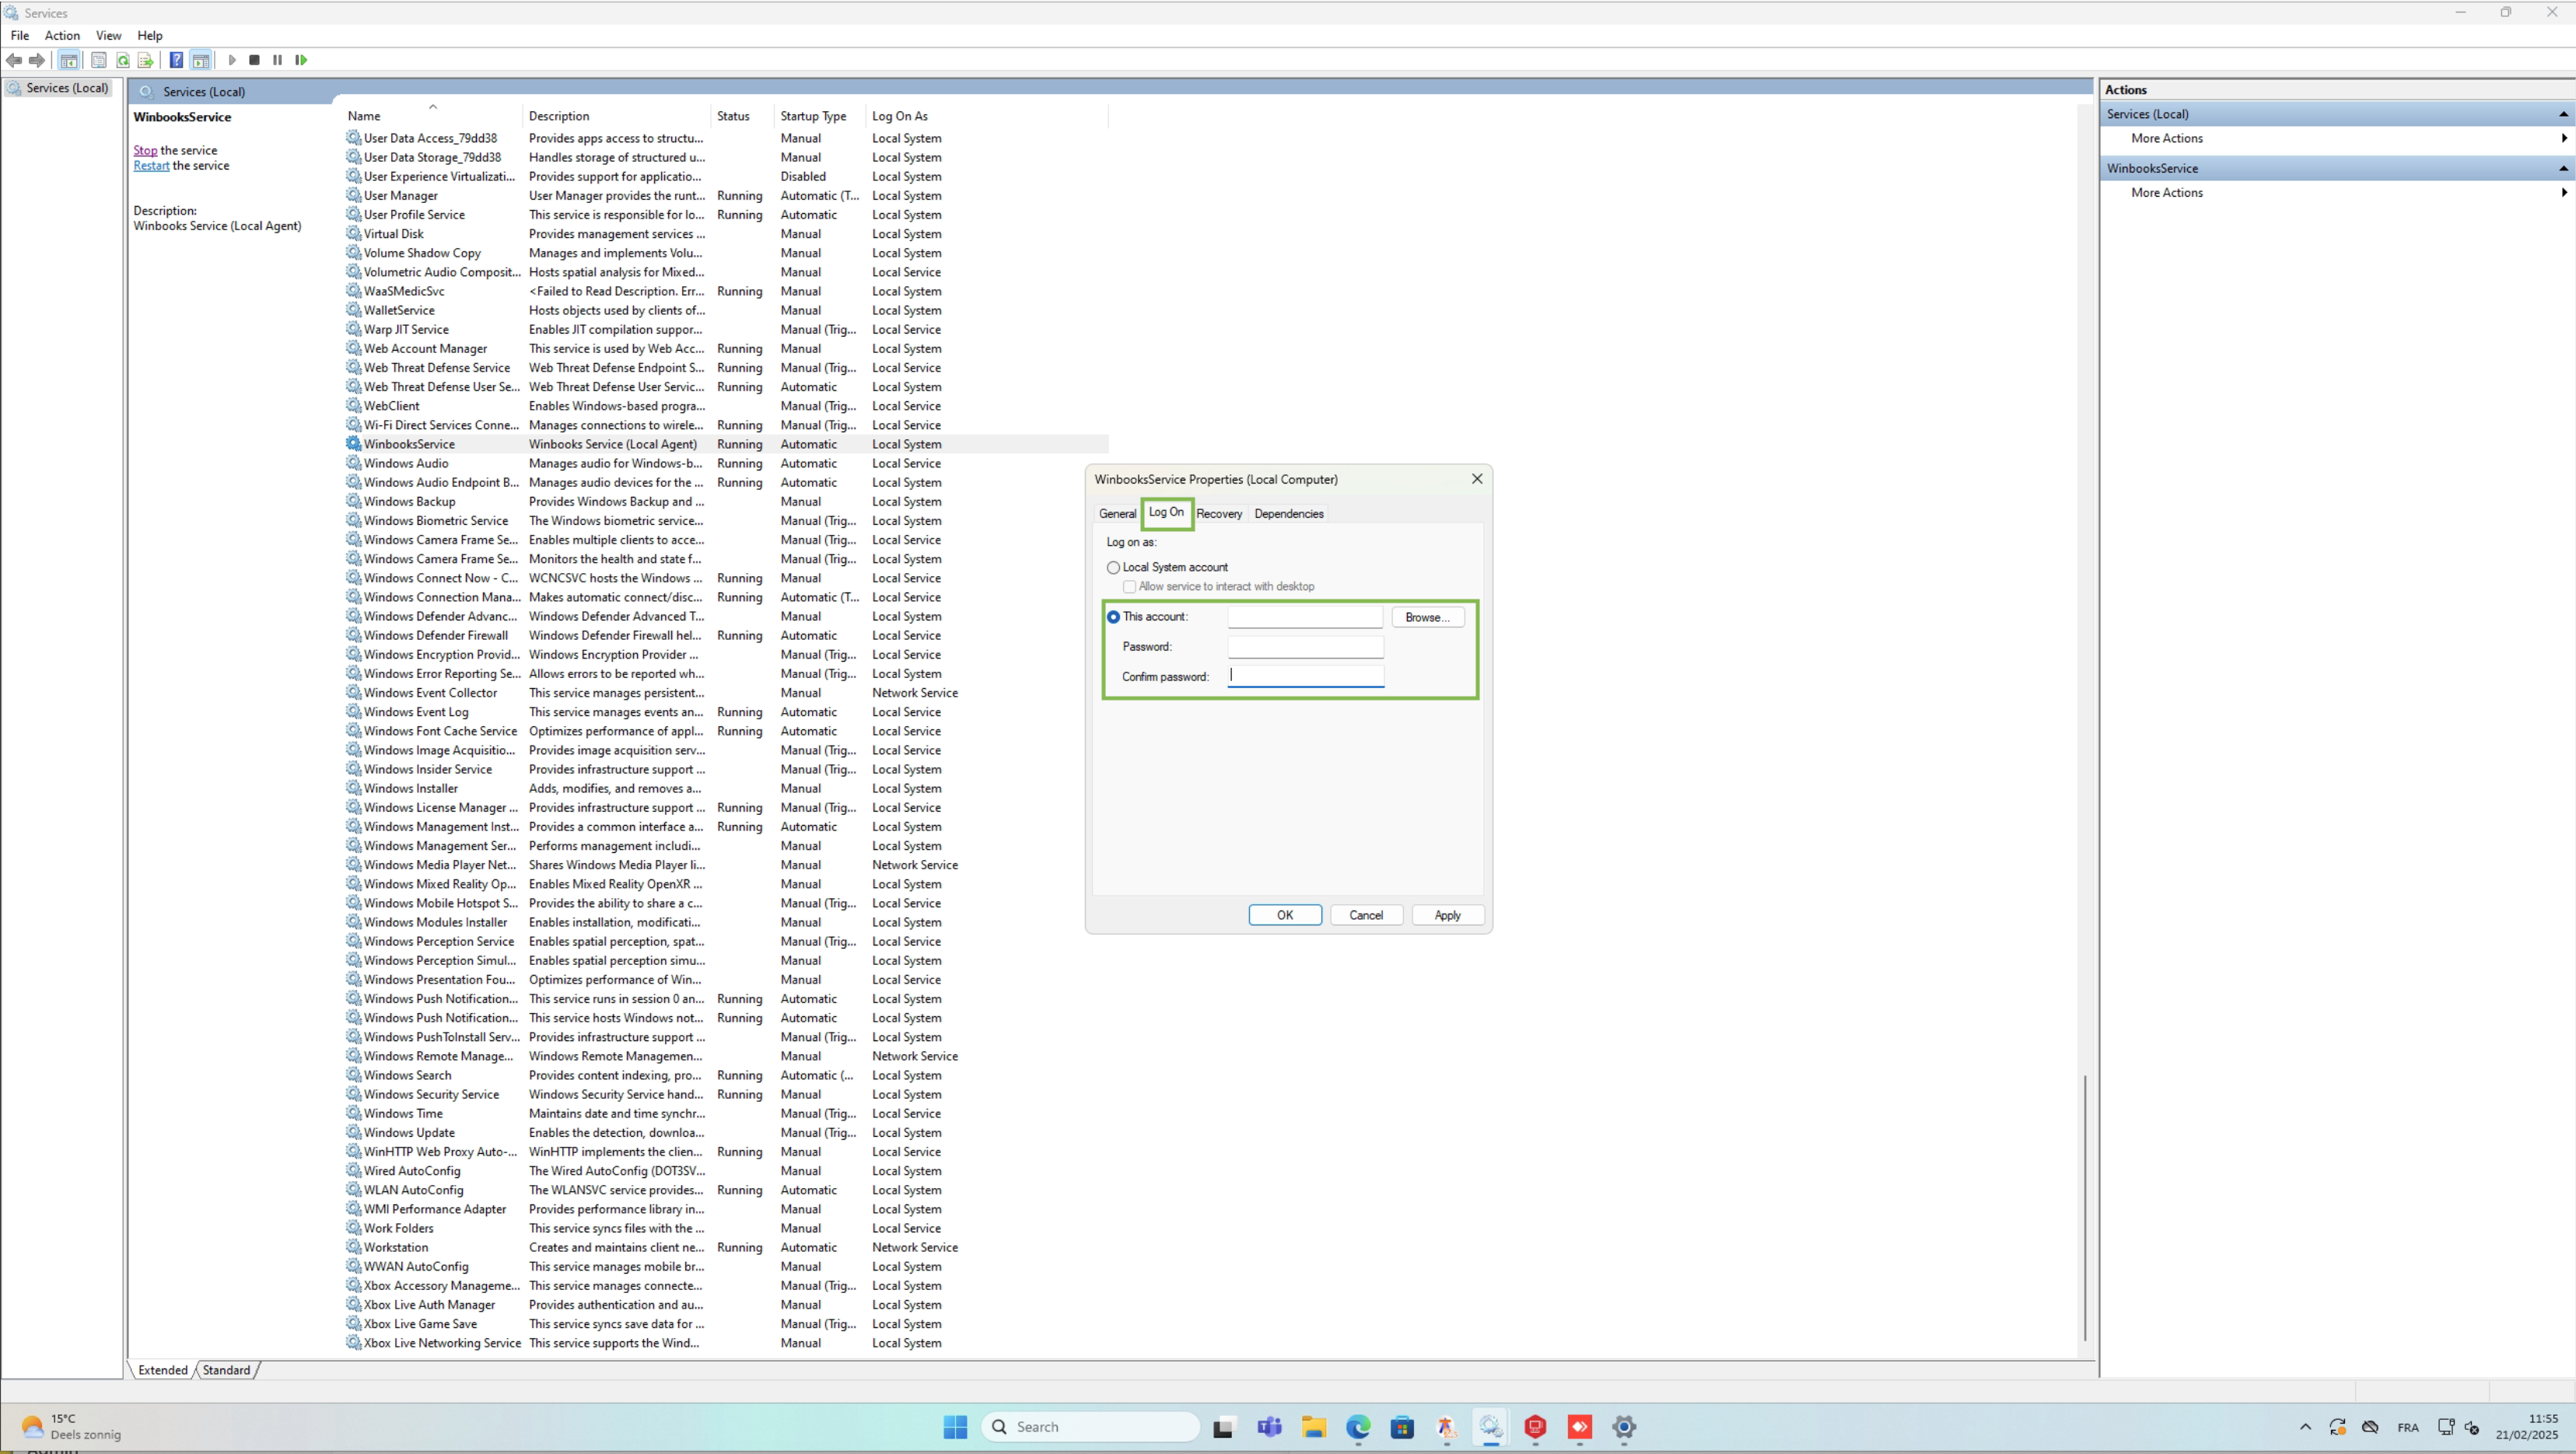
You must right-click on this service, click on the properties option.

You will need to use this account section and select a user with access to both the network drive and the folder in which all Winbooks files are stored.
-
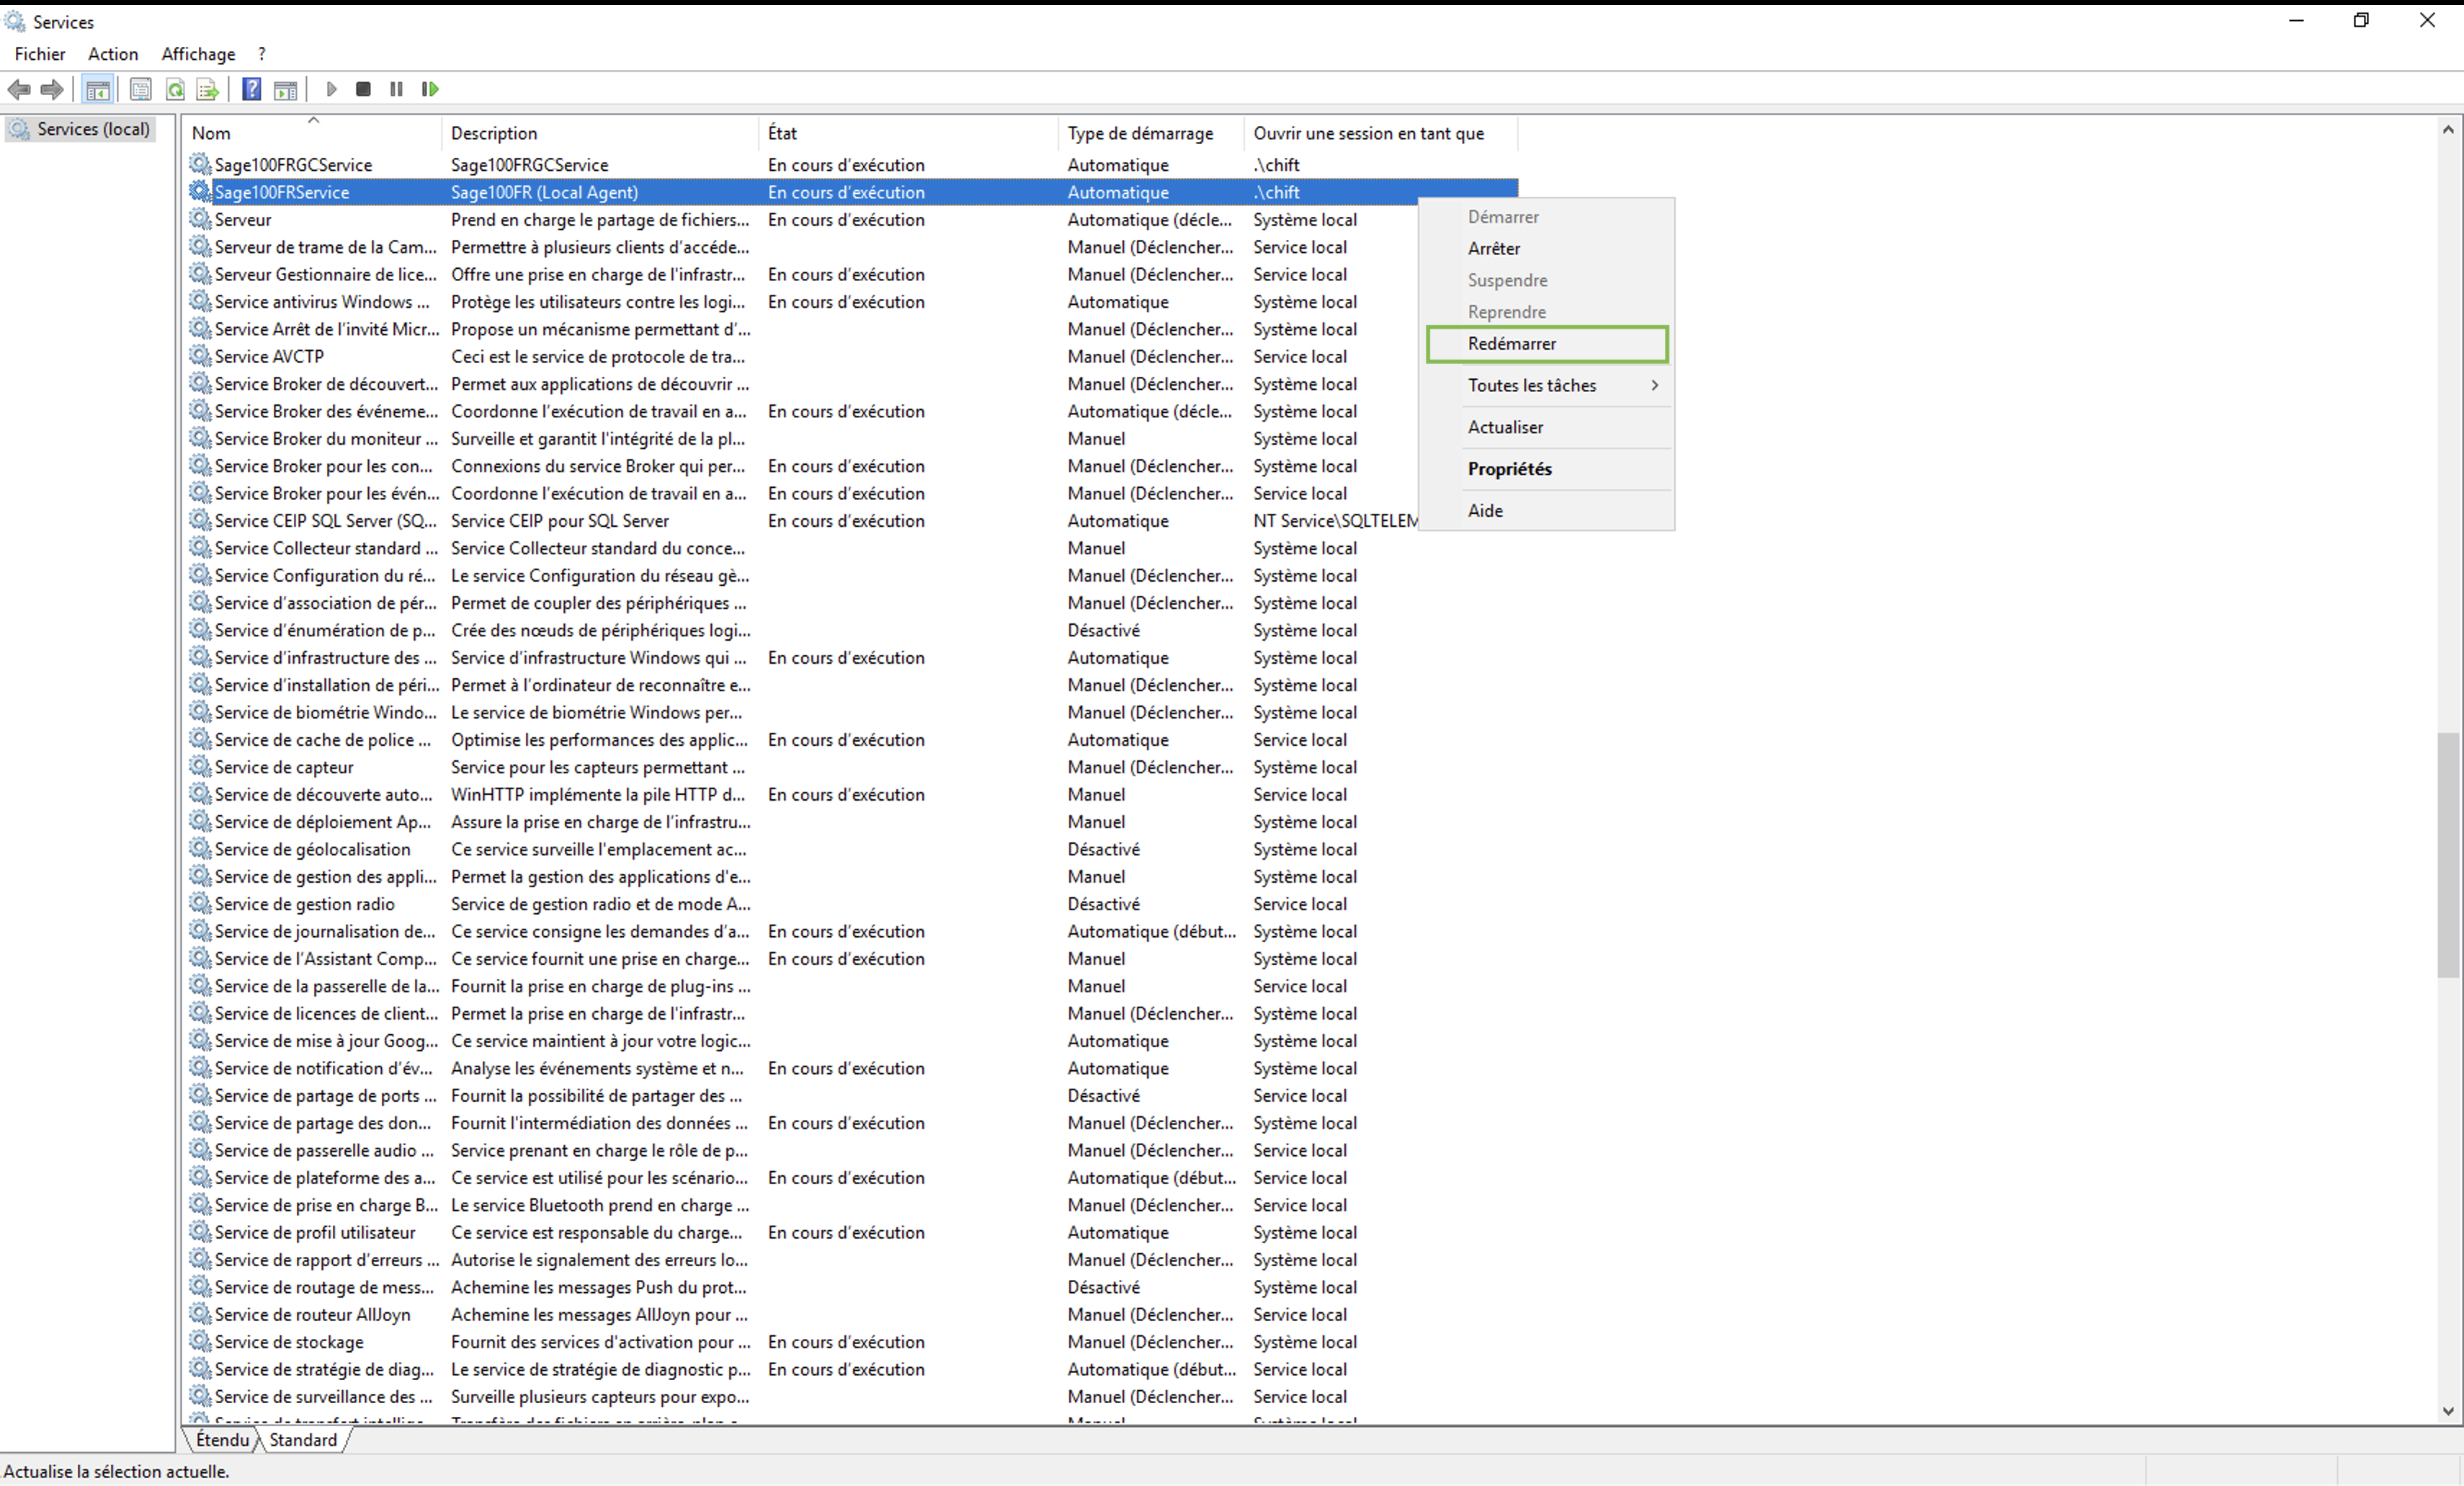
Once all previous checks are completed, restart the service and test the connection
Restart local agent
-
Access the Windows service.msc application
-
Make sure the service is configured with a Windows user having access privileges to the SQL database and shared network drives

-
Then restart Winbooks service
The given company does not exist in the accounting system.
This means that we cannot establish the connection required to create the connection.
-
Check the path configured in Winbooks form on Shift
-
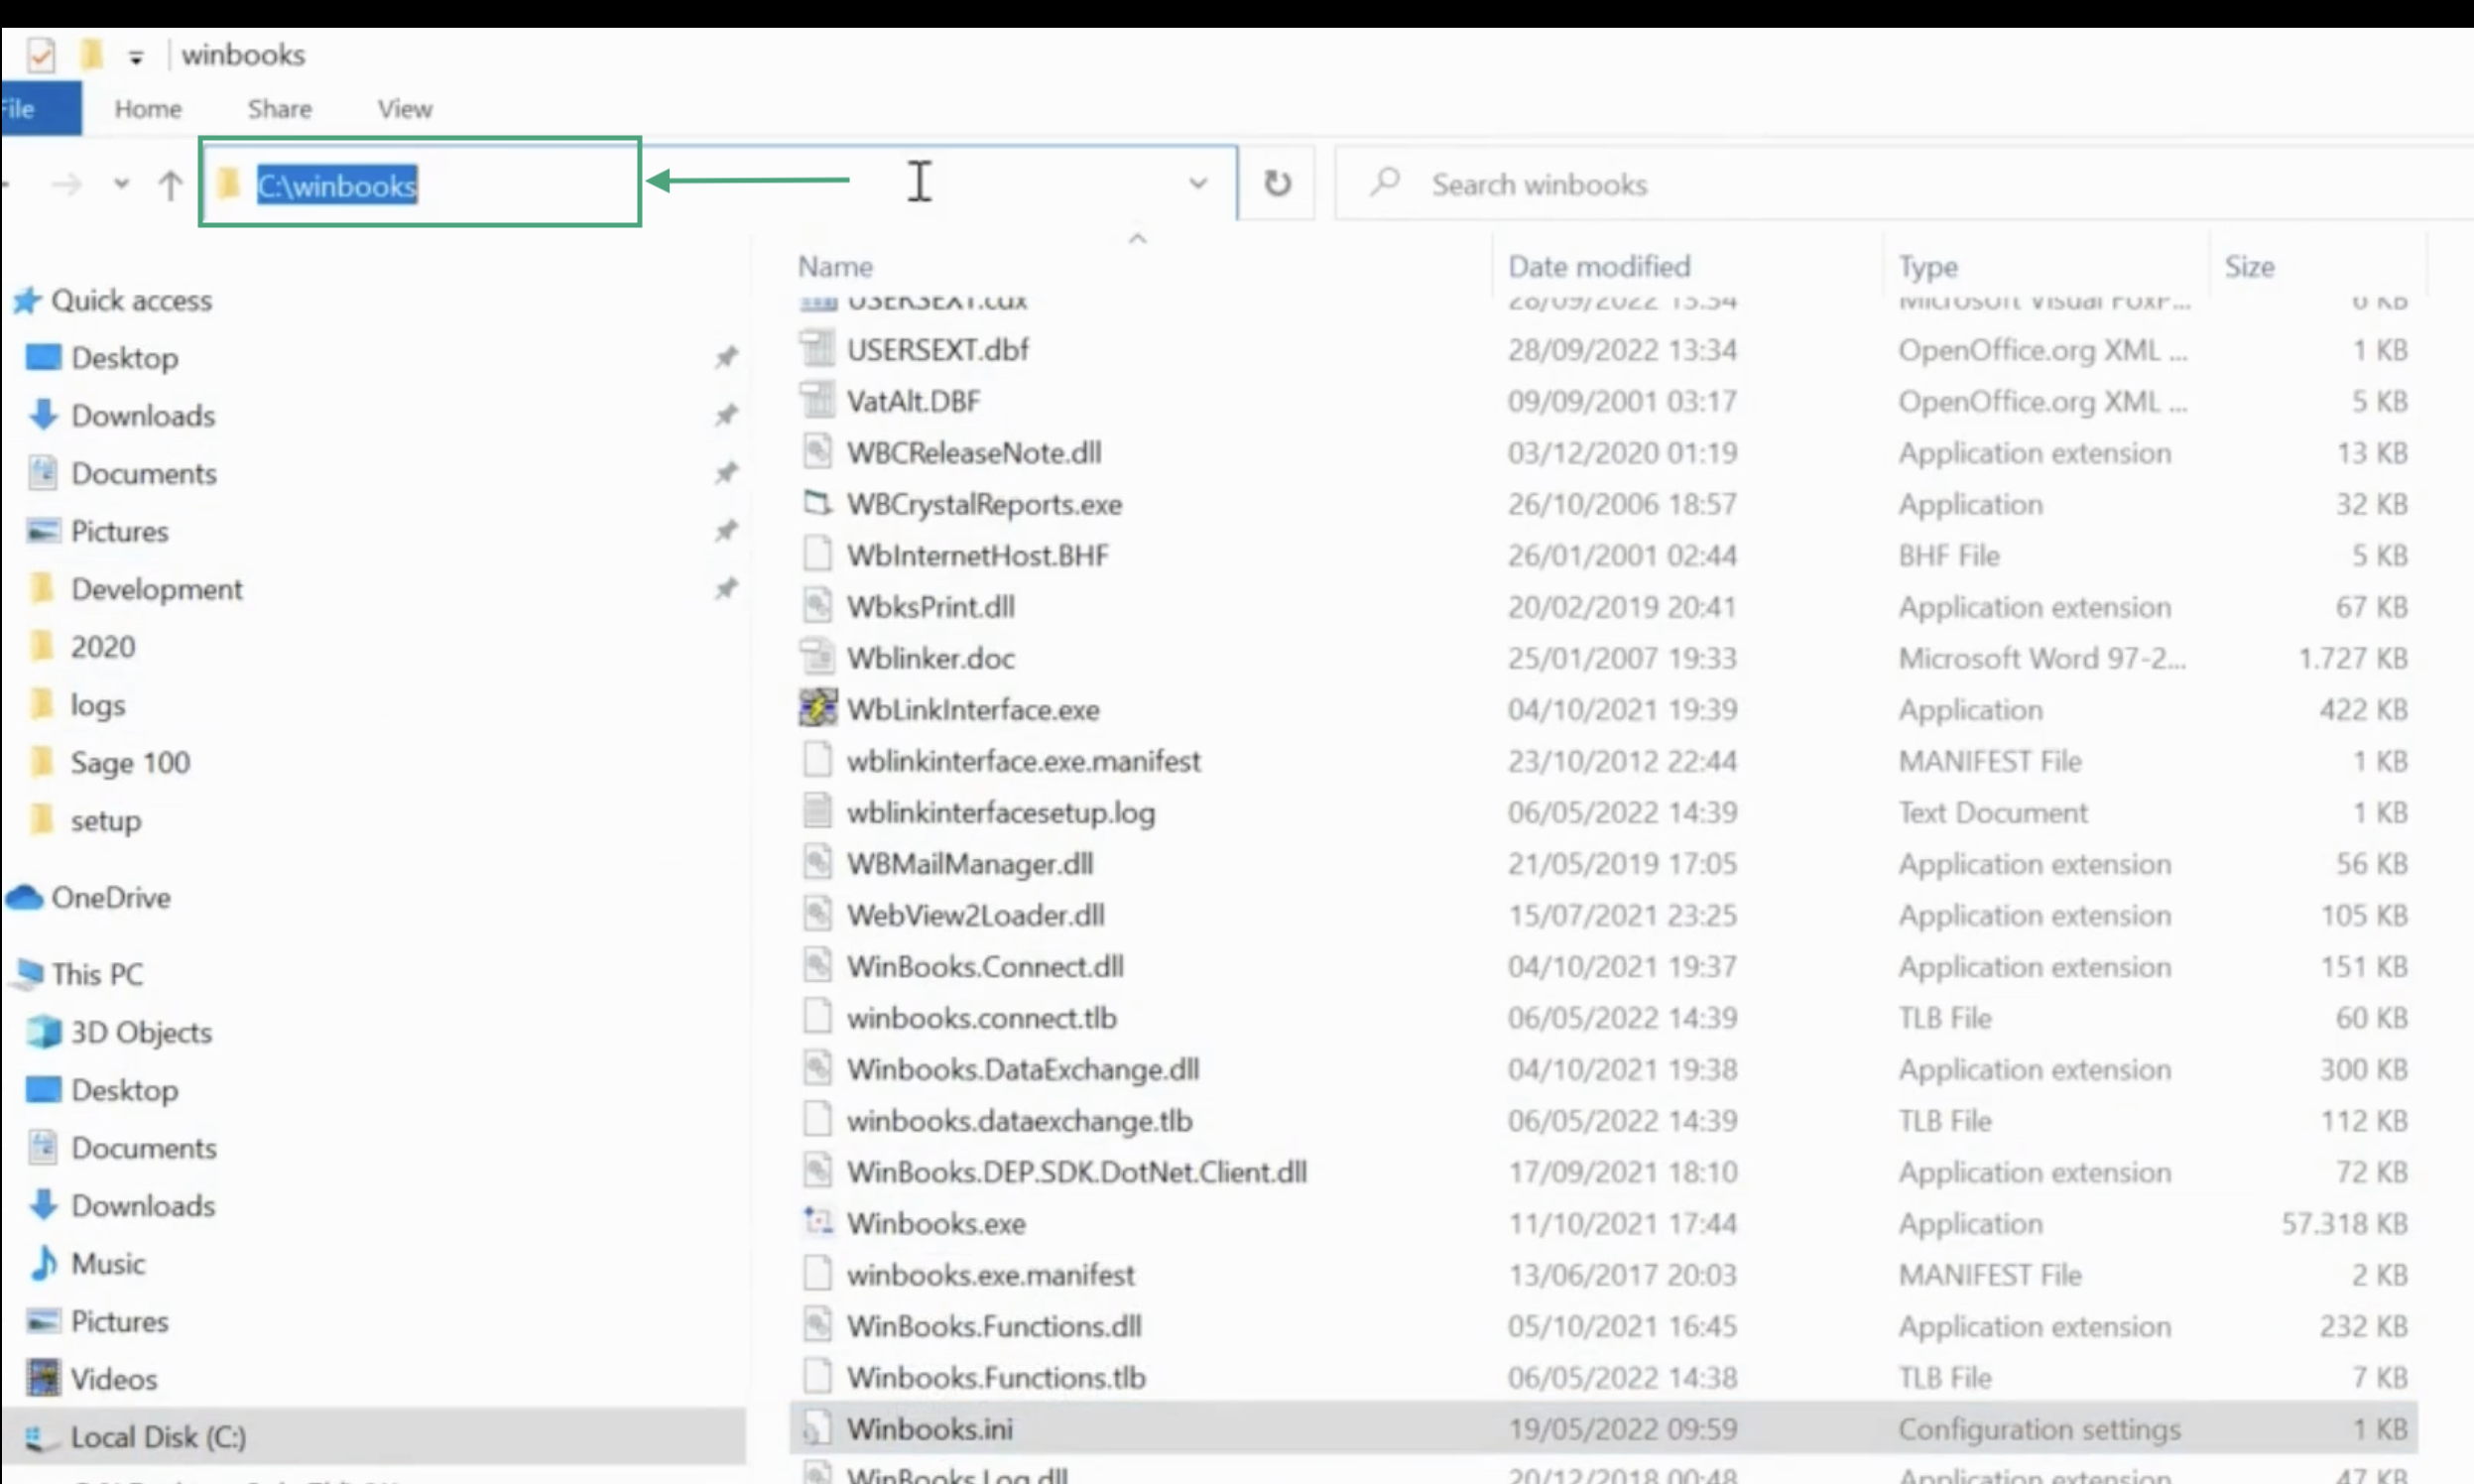
Make sure the specified path (for example,
C:\\Winbooks) exists. -
Check that this folder contains the file Winbooks.ini.
-
⚠ If the path does not exist or is not accessible by the user running Windows service → use a UNC path if the folder is on a network share or drive.
-
-
Ouvrez le fichier Winbooks.ini
-
Vérifiez la présence de la variable UsersPath.
-
Si la variable est manquante ou vide → C'est probablement le problème (cela arrive souvent lorsque le connecteur est installé sur un serveur proxy au lieu du serveur principal).
-
-
Vérifiez le dossier spécifié dans UsersPath
-
Assurez-vous que le dossier existe.
-
Vérifiez qu'il contient le fichier Users.dbf.
-
⚠ Même règle : si le dossier est partagé ou sur un lecteur réseau, remplacez par un chemin UNC dans le fichier winbooks.ini
-
-
Vérifiez le fichier Users.dbf
-
Ce fichier contient la liste de toutes les entreprises (1 ligne = 1 entreprise).
-
Chaque entrée d'entreprise indique le chemin vers son dossier DB/DATA.
-
⚠ Le fichier est crypté → le connecteur le déchiffre automatiquement et crée un fichier déchiffré temporaire dans :
C:\\Program Files (x86)\\WinbooksService\\tmp. Ce fichier ne sera visible que lorsqu'une requête sera effectuée au service
-
Voici un exemple de fichier users.dbf ouvert. Vous y retrouvez une colonne CODESOC qui référence les codes winbooks des différentes sociétés, ainsi que les chemins permettant à winbooks de savoir où sont stockés les dossiers.
.png")
-
Pour vérifier :
-
The code entreprise saisi dans Chift correspond à une entreprise dans le fichier.
-
Si aucune correspondance n'est trouvée dans le fichier, alors le connecteur ne fonctionnera pas. Il est alors nécessaire de re soumettre le formulaire sur chift afin de renseigner le bon code dossier et y renseigner le code que vous voyez ici.
-
-
Le chemin spécifié pour le dossier DB/DATA est valide et accessible.
-
Si le chemin n'existe pas ou n'est pas accessible, il faut alors corriger le chemin si celui ci n'est pas valide, ou modifier l'utilisateur faisant tourner le service si celui ci n'a pas accès au dossier en question. Une section détaillée de cette documentation vous explique le détail des étapes à réaliser pour effectuer cette modification.
-
-
Si le chemin existe, n'est pas sous le format UNC et est associé à un disque réseau, il est alors nécessaire de modifier le chemin renseigné afin d'y mettre un chemin UNC, cela ne changera absolument rien car ces deux chemins sont équivalents du point de vue de votre serveur mais cela permettra au service de savoir où chercher les différents fichiers relatif à Winbooks.
-
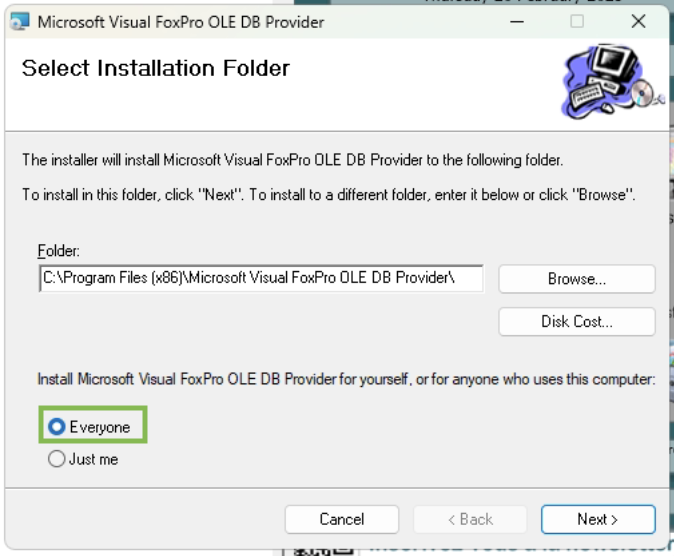
Erreurs à propos de VFPOLEDB dans le fichier log.html
Si vous constatez des lignes avec des erreurs mentionnant VFPOLEDB dans les logs du fichier html, cela veut dire que le plugin n'a pas été installé / que l'utilisateur faisant tourner le service n'a pas accès à ce plugin.
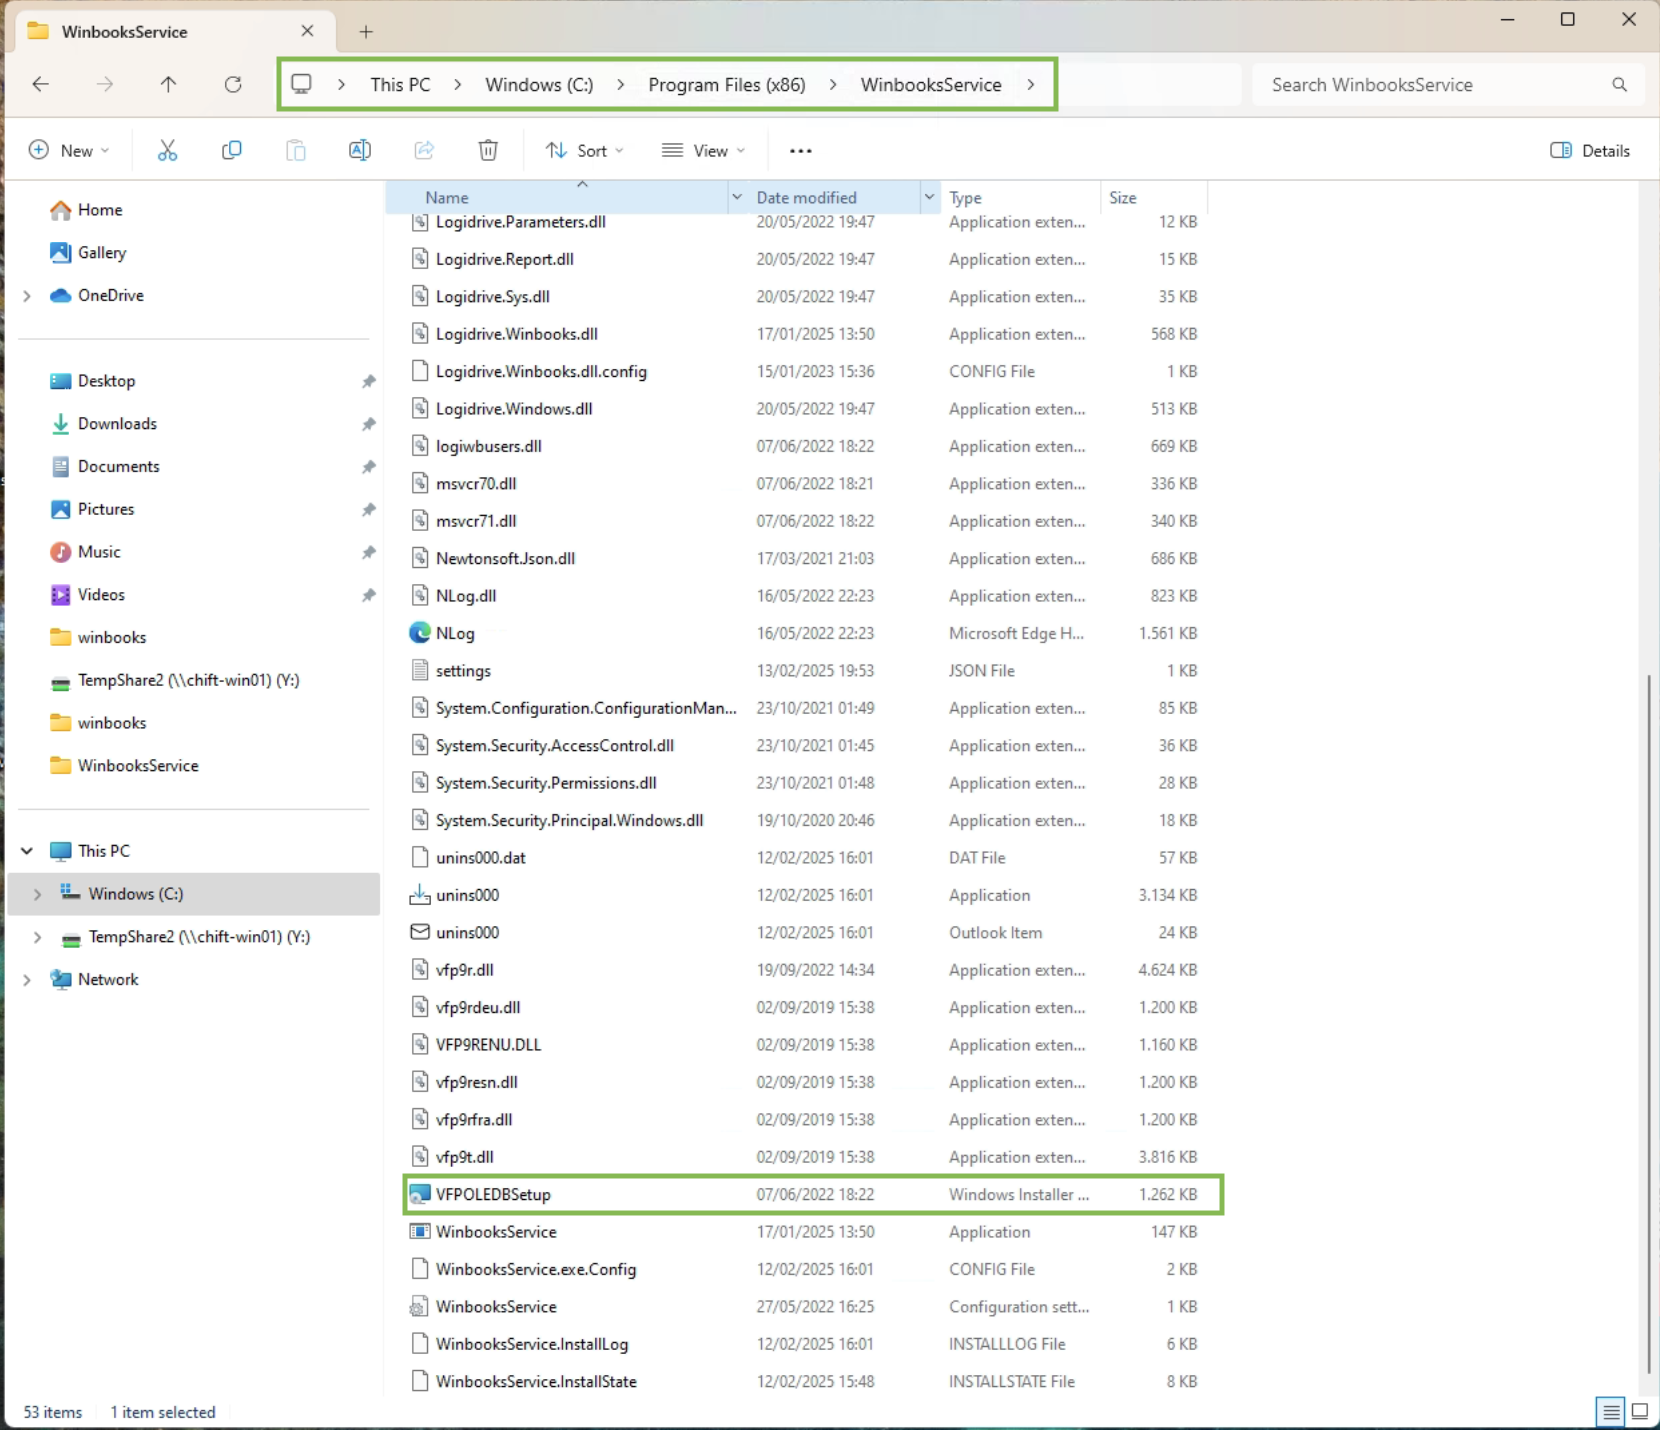
Rendez vous donc dans le dossier du WinbooksService avec le chemin suivant: “C:/Program Files (x86)/WinbooksService/”
Et lancez l'exécutable “VFPOLEDBSetup”
-
Dans un premier temps, si il a déjà été installé, désinstallez le
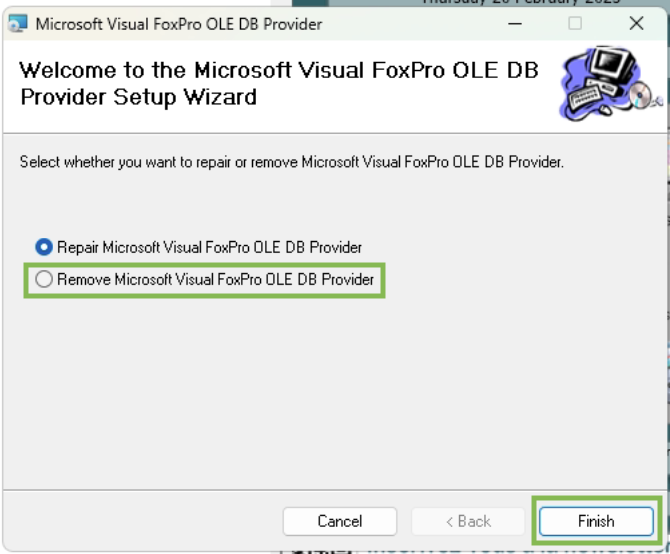
-
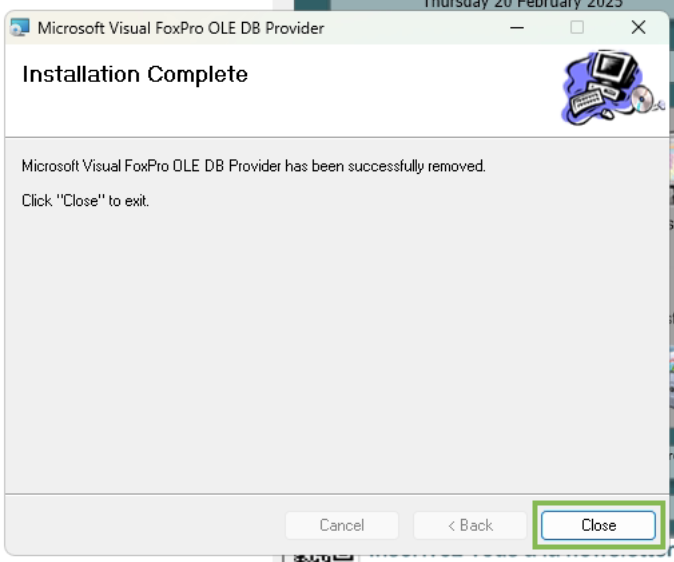
Ensuite relancez ce même fichier pour le ré installer correctement.

-
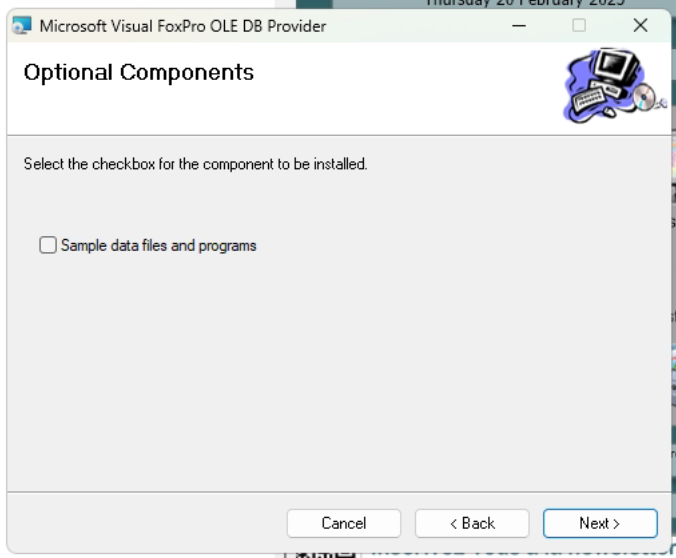
Ne sélectionnez pas l'option suivante lors de l'installation
-
Assurez vous de bien cliquer sur l'option permettant d'installer le plugin pour tout les utilisateurs et non seulement pour l'utilisateur courant.
-
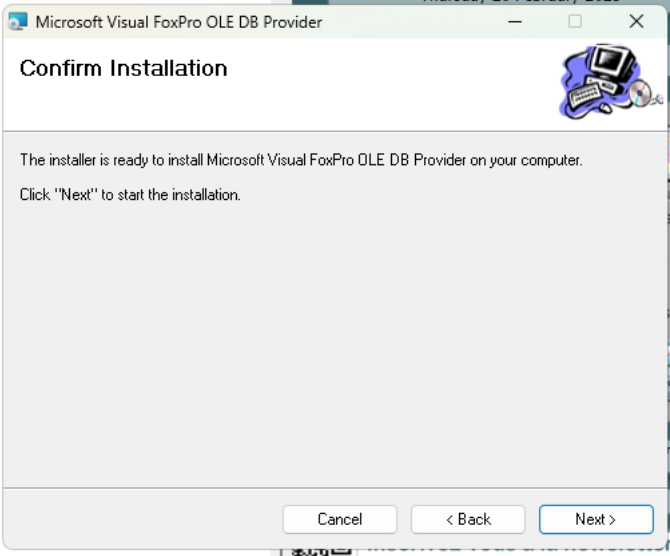
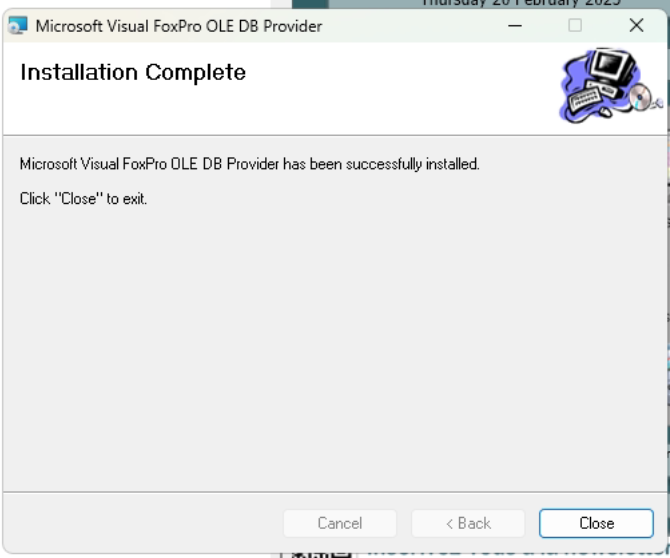
Vous pouvez maintenant finaliser l'installation.
-
Rendez vous maintenant dans le menu des services windows.

-
Vérifiez bien que l'utilisateur configuré a bien accès au plugin que l'on vient d'installer ainsi qu'aux disques réseaux si vous utilisez des disques réseaux en lien avec les dossiers connectés.
-
Redémarrez le service pour que toutes les modifications ci dessus soient prises en compte.

